While I like to think I could learn any needlecraft, tatting has always intimidated me. So many loops of fine thread, so many shuttle styles—how would I know where to start? Then somebody mentioned needle tatting and my confusion grew. Yet the delicate circles and picot loops kept catching my eye, begging me to learn more.
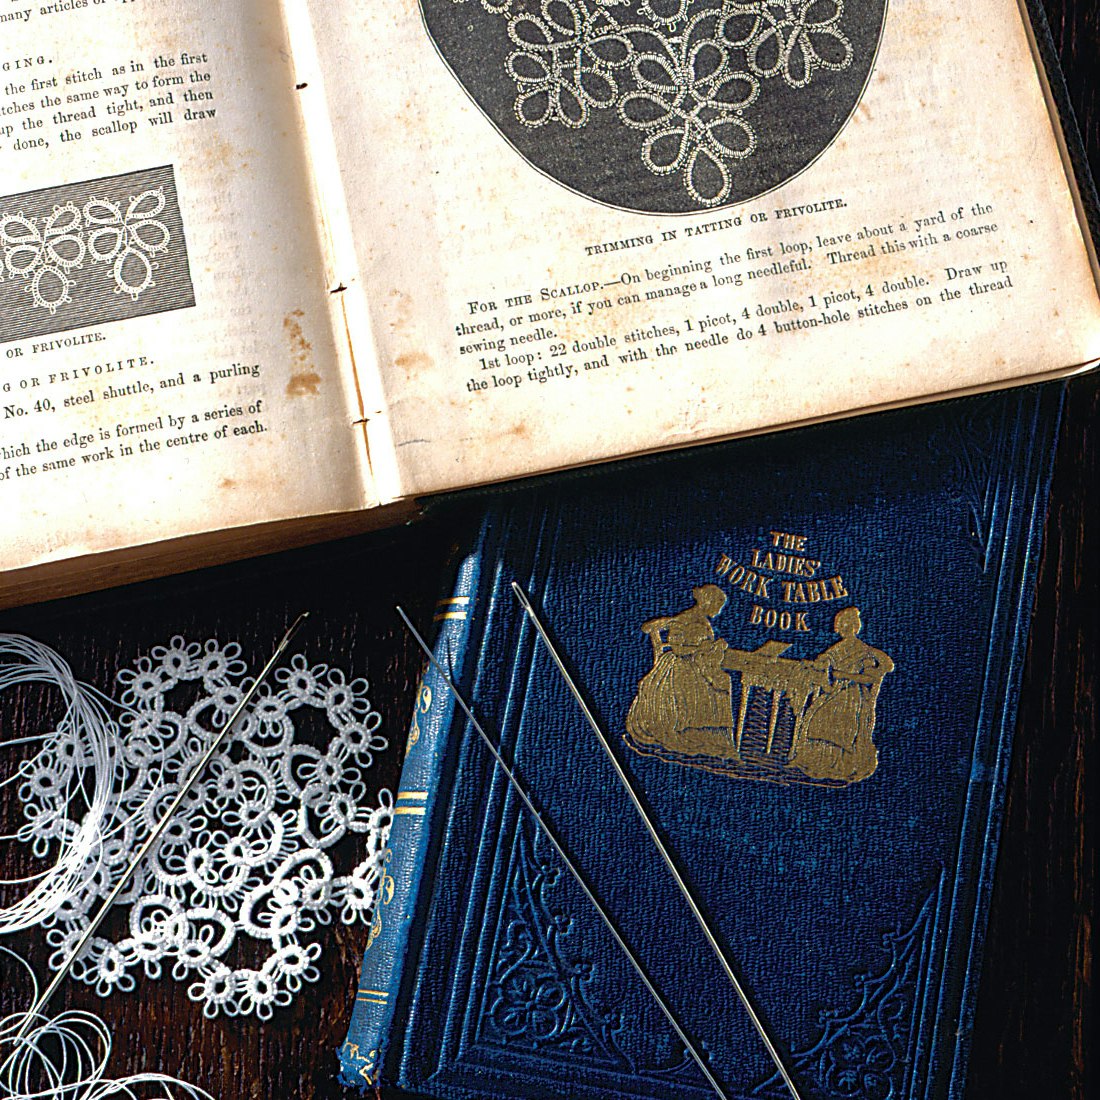
The Ladies’ Work-Table Book (1843) and The Ladies’ Handbook of Fancy and Ornamental Work (1861). Both contain instructions for needle tatting, but the technique described was actually a description of shuttle tatting, using a needle in place of a shuttle. Collection of the author. Photo by Joe Coca
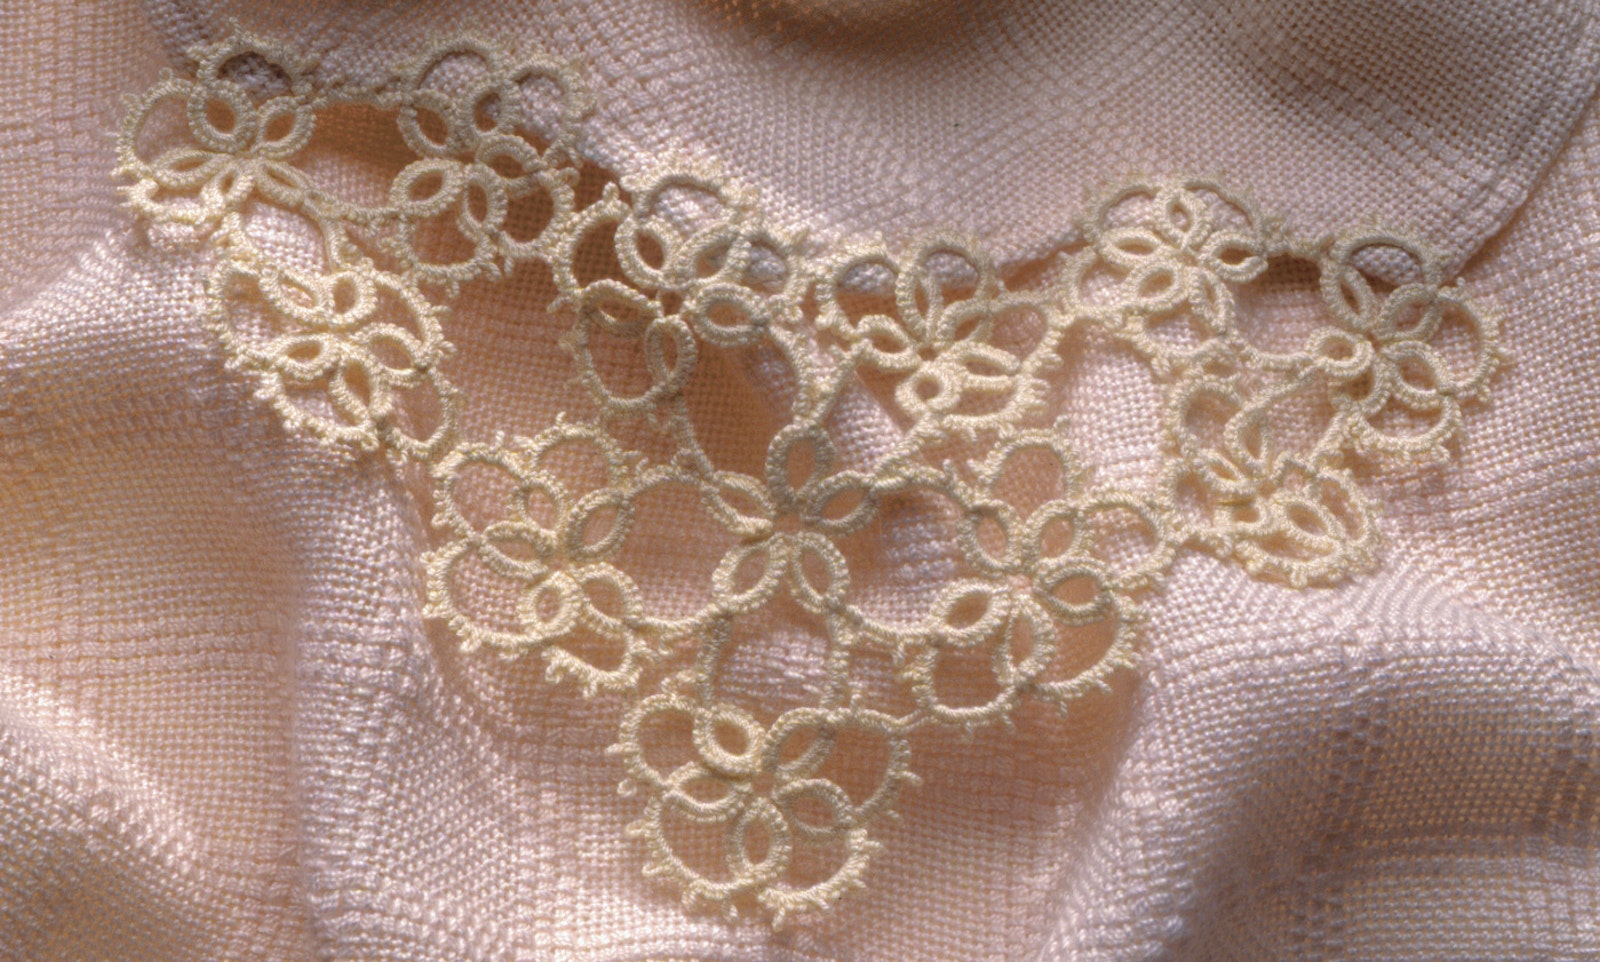
As it turns out, I was probably overthinking. Tatting doesn’t involve intricate stitches; it just requires lots of them. The lark’s head knot some of us remember from macramé becomes the double stitch in tatting. When there’s additional thread between two double stitches, the extra thread forms a picot. Put lots of double stitches and picots into a ring, join the rings with chains, and you’ve tatted lace. The combination of rings, chains, and empty space reminds me of musical notation, with notes and rests arranged on a staff. Claude Debussy once said, “Music is the space between the notes,” and tatters might say the same: clusters of stitches separated by negative space create beauty.
Using a needle
Tatters can use either needles or shuttles in forming stitches; the results are virtually identical. Even experts find it difficult to tell the difference between needle and shuttle tatted lace from inspecting the finished product. So why choose one method over the other? Barbara Foster, author of “Needle Tatting: An Almost Hidden Art” (PieceWork, May/June 2014), explains that she found shuttles difficult to use as a beginner because the shuttle simply holds thread while fingers do all the work. A tatting needle, in contrast, offers a stable surface around which to form knots.

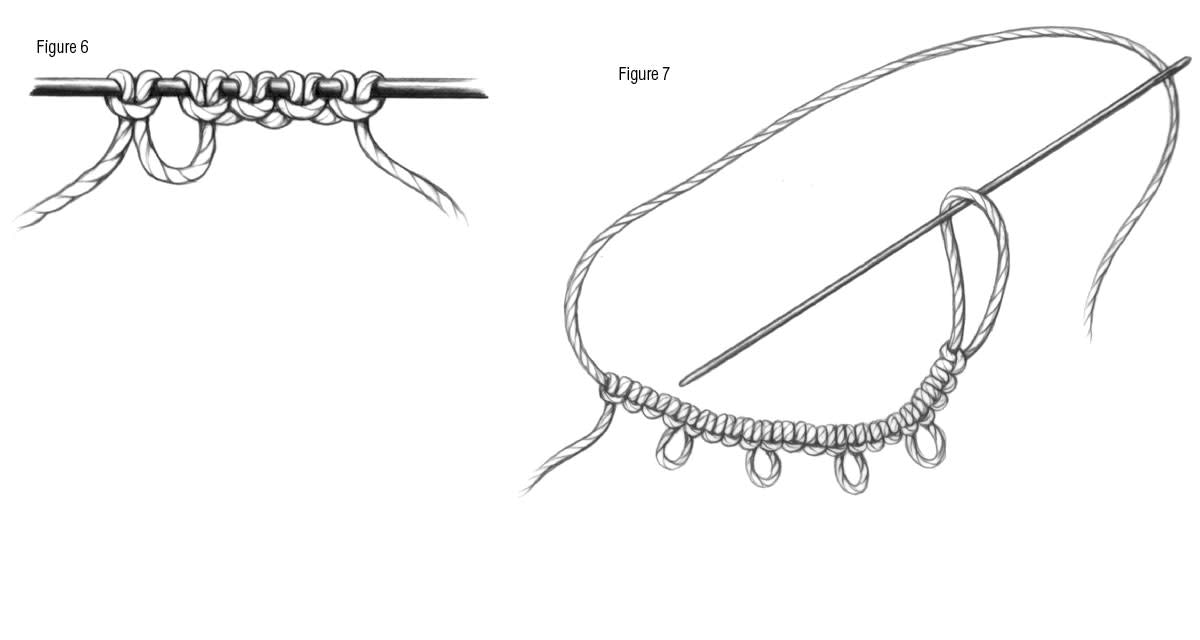
Steps in needle tatting. Figure 6 shows how the stitches are built on the needle before the core thread is pulled through to close the ring in figure 7. Illustrations by Ann Swanson
Using a shuttle
Fingers make roughly the same motions, but where a shuttle tatter uses the fingers to hold everything—including the foundation thread holding the double stitches—a helpful needle provides support on the right. The needle tip also does the work of a crochet hook or the spike or hook attached to some shuttles.
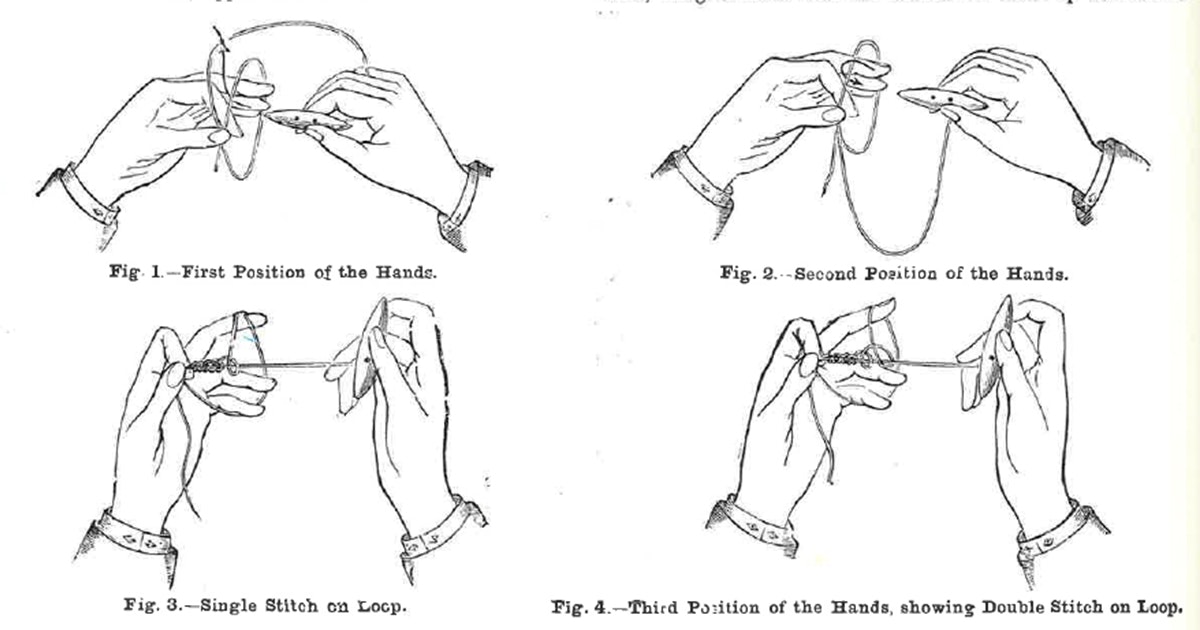
Hand positions for using shuttle for tatting. Unlike needle tatting the stitches are built directly onto the core thread. Illustration from Weldon’s Volume 4
Why, then, might someone choose shuttles over needles? Shuttles became works of art in the nineteenth century, and they remain so today. Search on the Internet for “tatting shuttle,” and you’ll find incredible examples of antique, handmade, and modern commercial shuttles.
When I try my first tatting project soon, a needle will definitely come in handy, both to ease the learning curve and to prevent me from spending all my money on a shuttle collection. If you can play cat’s cradle for hours, you could dive in headfirst with shuttles, but it’s going to take me some time to get there!
My next step: Georgia Seitz’s needle tatting video, and then when I’m ready for the big leagues, her companion one on shuttle tatting.
Deb Gerish is a former content manager for PieceWork magazine.
Originally posted February 4, 2015. Updated April 1, 2022.