The Sorbello or Sorbello knot stitch is a textured Italian embroidery stitch, originating in the small village of Sorbello, near Naples. It belongs to the knot/looped stitch family and differs from the similar Palestrina and Basque knot stitches in that the first leg of the Sorbello stitch is horizontal and not diagonal.
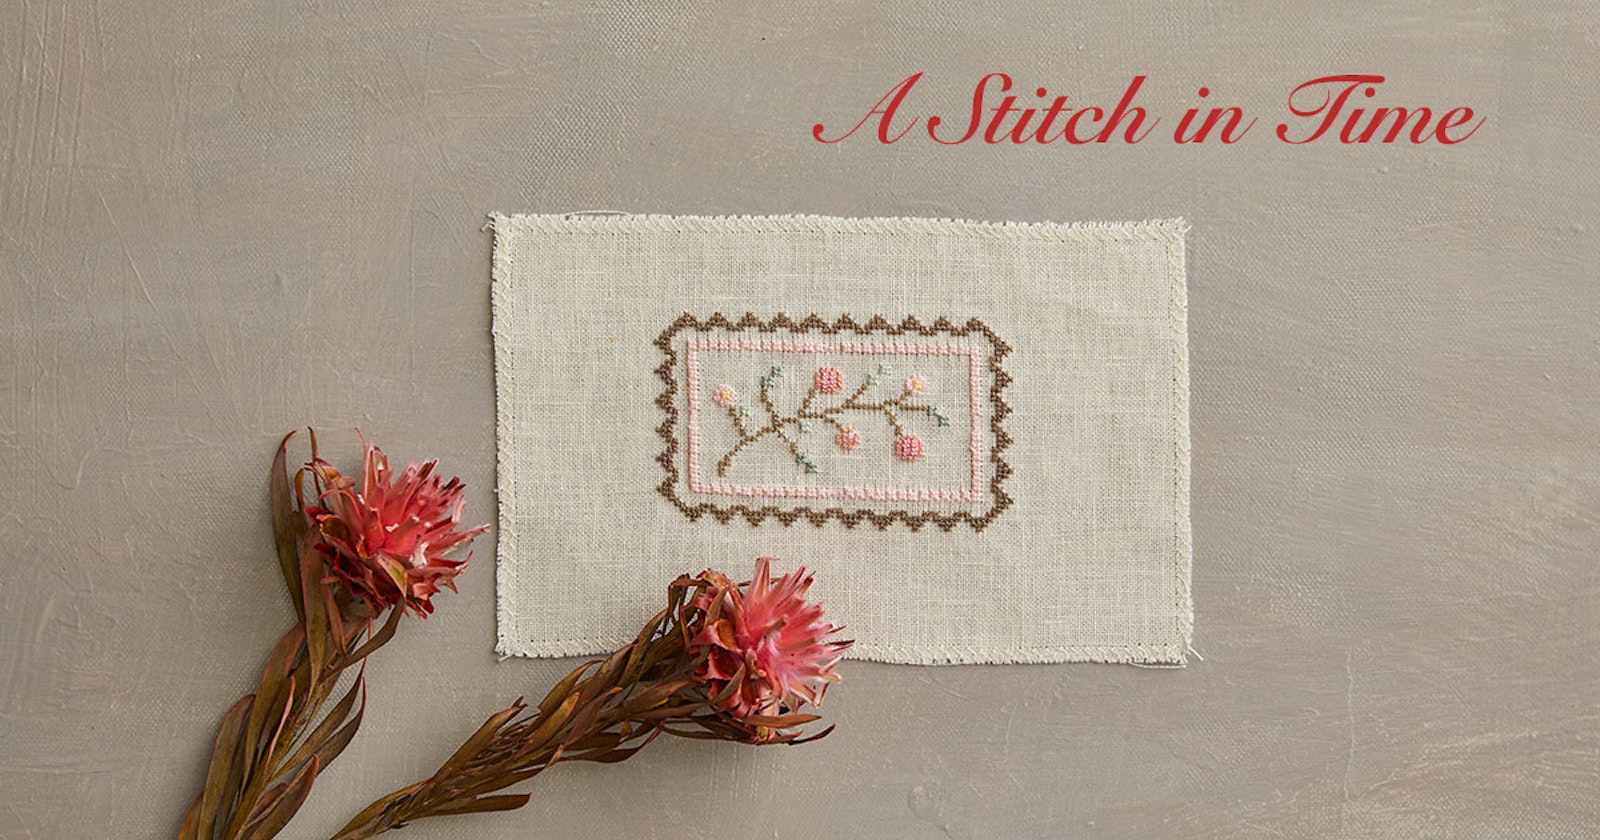
Above: The Sorbello stitch sample was designed and stitched by Deanna Hall West. Design size: 4⅛ by 2½ inches (10.5 x 6.4 cm). Materials: Wichelt Linen fabric, 32-count, Ivory; DMC Cebelia, size 20, #745, #818, and #3326, 1 ball each; DMC Pearl Cotton, size 12, #503, #504, #640, #642, #758, and #818, 1 ball each; John James Needles, tapestry size #26 and embroidery size 7; fabric marking pen, fine line, water erasable; and embroidery hoop. Transfer the design to the linen fabric, using the marking pen. Center the design within the hoop and stitch, following the design legend and using 1 strand or number of strands indicated. Photo by Matt Graves. Illustrations by Ann Swanson.
Traditionally, the Sorbello stitch was worked on a fairly thick, coarse, natural (unbleached) or colored linen fabric, called crash, and was worked with an equally coarse white or brown thread This stitch was used to decorate pillow covers, tablecloths, curtains, bags, and small mats with bands, monograms, or motifs.


This knotted stitch (Figure 1) can actually be worked on either the preferred evenweave fabric or on a plain fabric with marked parallel lines or a grid. Usually, the stitches are worked left to right (Figure 2) or from top to bottom (Figure 3), but the reverse directions are sometimes used, which leads to more thread carried in the back side of the fabric. Stitch with a tapestry needle, if at all possible, on both evenweave and plain weave fabrics. However, a sharps needle may be necessary to penetrate some plain weave fabrics. The Sorbello stitch is actually a clove-hitch knot around the top horizontal leg, which is called a hanging bar. After the first wrap over and then under the hanging bar, pull the thread gently to the left. This action makes the bar more visible and thus accessible for the next wrap around the bar. After this second wrap, gently pull the thread straight up. This arranges the knot more or less into the middle of the stitch area. If further adjustment of the knot is needed after taking the needle and thread to the back (Figure 1, Step 4), use the needle tip to nudge it into place. The most common error in working the Sorbello stitch is wrapping the hanging bar first under and then over for the first wrap. Go over the bar first for both wraps. Complete the stitch by taking the thread to the back of the fabric and you are now ready to begin the next Sorbello stitch. Do not pull the individual legs of the stitch too tightly but leave them slightly relaxed so that each stitch will maintain its basic square shape. Normally, the Sorbello stitch is square, but occasionally, it can be stitched in a slightly rectangular shape. Because of this basic square shape, it can easily be substituted for a cross-stitch (see the stitched sample above).
Round or twisted threads show off the distinctive knotted character of the Sorbello stitch better than stranded flosses. Some of these thread types include pearl cotton, matte embroidery cotton, crochet and tatting threads, and coton à broder. Stranded cotton or silk flosses or other non-round threads can be used, but the stitch will ultimately be flatter and have a less textured and knotted appearance, but it is in no way less attractive. Adjust the thread size to fit the fabric thread count. Normally, a single strand of thread is used, but a doubled thread (see the green leaves on the stitched sample above) may be necessary to cover the stitch area. Keep the two threads as parallel as possible. Choose the smallest needle size possible to avoid creating large holes in the fabric at the four corners of the stitch.
The Sorbello stitch can be worked as an isolated, individual stitch (Figure 1), in curved or straight rows or bands (Figures 2 and 3), in borders (Figure 4), and as fillings for motifs, which are usually geometric shapes (Figure 5). When used for fillings, the individual Sorbello stitches are arranged directly under each other in vertical rows (Figure 5).
The Sorbello stitch is not frequently used outside of Italy, which is unfortunate. It's a lovely textured stitch and needs more present-day attention from stitchers around the world.
 Sorbello Peach Branch Legend:
All knots are stitched over 2 threads, using 1 strand, except where noted.
1. Stitch #503 Pearl Cotton over 4 threads, using 2 strands.
2. Stitch #504 Pearl Cotton over 4 threads, using 2 strands.
3. Stitch #745 Cebelia over 4 threads.
4. Stitch #3326 Cebelia over 3 threads.
5. Stitch #818 Cebelia over 4 threads.
6. Stitch #818 Pearl Cotton over 2 threads.
—Deanna Hall West
Deanna Hall West is PieceWork’s needlework technical editor; she previously was the editor of The Needleworker magazine. Stay tuned for more stitch tutorials from Deanna in the months ahead!