The scroll stitch belongs to the knotted-stitch family and is a scroll- or wave-like line stitch. It's also known as the single-knotted-line or scroll-knot stitch and produces a lovely textured line, which flows evenly around curves. It closely resembles the coral stitch, but the thread wrap around the needle is different for each stitch.
Above: The Love the Surf sample was designed and stitched by Deanna Hall West. Design size: 3⅞ x 1⅞ inches (9.8 x 4.8 cm). Materials: Wichelt Linen, 32-count, Ivory; DMC Pearl Cotton, #498, #798, #799, and #3325, 1 skein each; John James Needles, chenille size 24 or 26 or embroidery/crewel size 5 or 6; fabric marking pen, fine line, water erasable; and embroidery hoop. Transfer the design to the linen fabric using the marking pen. Center the design in the hoop and stitch, follow the pattern and key, and use 1 strand.


This textured stitch is usually worked left to right but may also be worked right to left, which is especially useful for left-handed stitchers. The scroll stitch is normally worked using the sewing-stitch method and does not form a very stable knot. The small needle bite into the ground fabric may either be vertical (Figure 1) or slanted (Figure 2), which results in only a slightly different appearance. I find the vertical method is somewhat easier for controlling the knot formation and placement. Firmly wrap the thread under and around the needle and always clockwise. Hint: Hold the previously formed knot against the fabric surface with the left thumb while holding the thread wrap tightly around the needle with the thumbnail and pulling the needle and thread through the fabric. This sounds complicated, but it's actually not. Resist the urge to pull the knot itself too tightly, or it will lose its characteristic shape and will flip. Work at keeping the tension the same for all of the knots. Depending upon the desired effect, the distance between the linked knots can vary greatly from being very close together, even touching, to somewhat far apart. The distance and arrangement between the rows can vary with the knots placed directly under each other (Figure 3), staggered (Figure 4), or facing each other (Figure 5). End the scroll-stitch line with a small tack stitch, usually following along the design line. End the thread itself by running it under a few fabric threads on the back of the fabric under the design line and between the small stitches. Don't run the threaded needle under the small stitches on the back; this disrupts and tightens the knots on the surface.
The scroll stitch can be worked on almost any plain or evenweave fabrics and with almost any thread type that is compatible with the chosen ground fabric. A firm, round thread is preferred for bolder, distinct knots while stranded floss produces a flatter, less distinct knot. Some of the more preferred threads for bolder knots include pearl cottons, crochet and tatting threads, cordonnet, and coton à broder.
Used for straight or curved outlines, rows, borders and fillings (Figure 5), the scroll stitch appears in samplers, whitework, crazy quilting, and other decorative embroideries. Rows of staggered scroll stitches can effectively be used to represent running water or ocean waves.
—Deanna Hall West
Deanna Hall West is PieceWork’s needlework technical editor; she previously was the editor of The Needleworker magazine. Stay tuned for more stitch tutorials from Deanna in the months ahead!
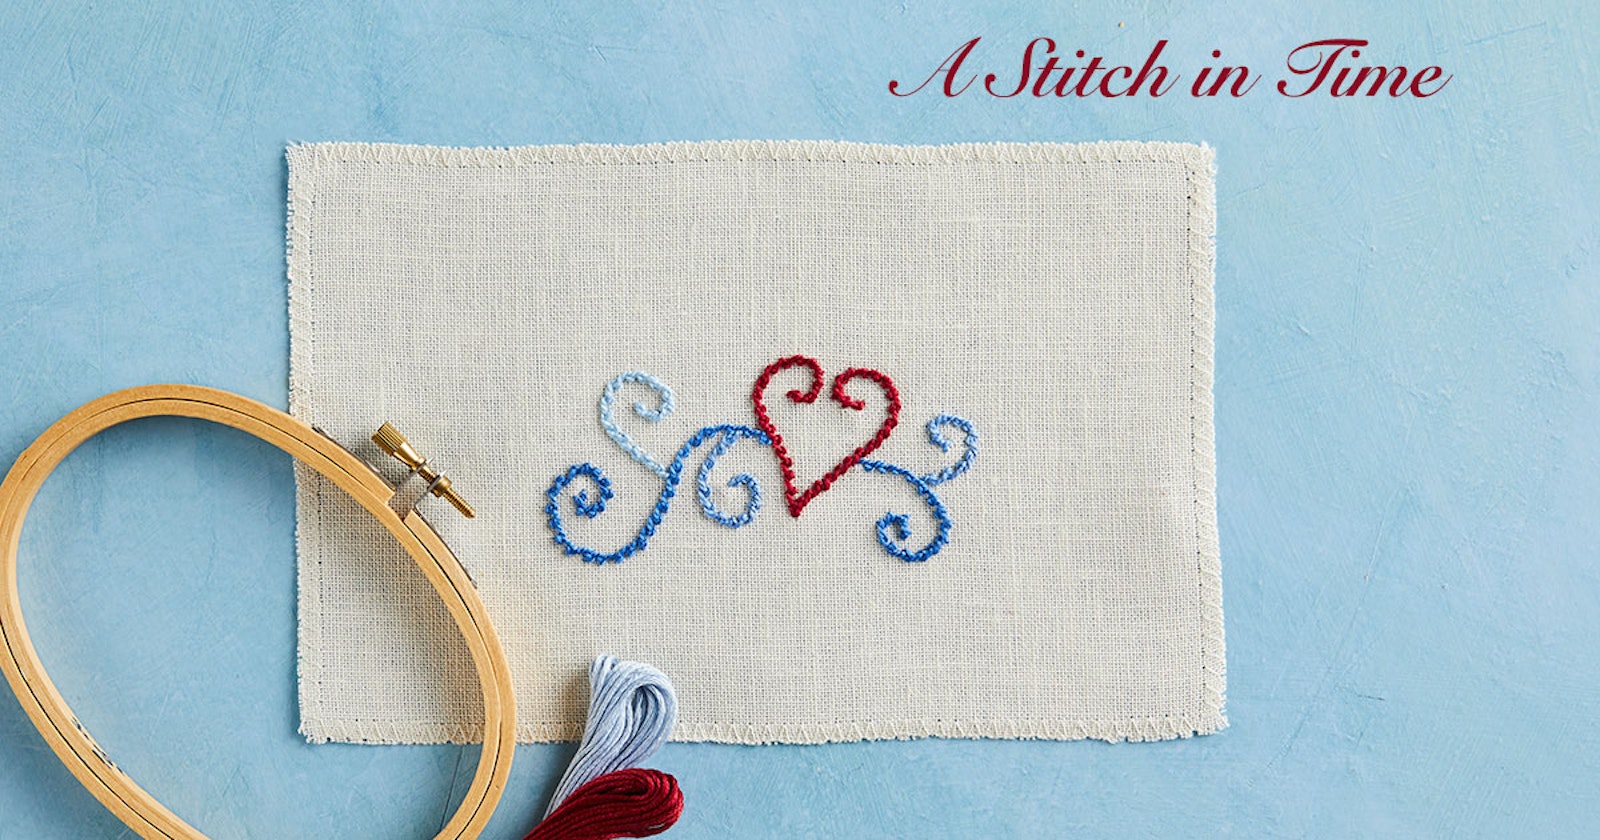
Featured Image: Photo by Matt Graves.