The last time I wrote, I talked about how to display large textiles such as tapestries and rugs. Today, I want to talk about displaying those textiles that are much smaller and lighter—textiles, such as embroideries or cross-stitch pieces that are better served being mounted and/or framed in some way.
Once again, I’ll start with a disclaimer: it’s important to know whether your textile is strong and stable enough to hang. If there’s any question at all about the possibility of damaging the textile, talk to a conservator or a collections or display professional at a local museum. Always exercise caution when dealing with antique and extra-delicate pieces, and never hesitate to get a second opinion if you are at all worried.
In the past, beautiful embroideries and other lovely textiles were often framed. Sometimes these pieces would be glued to a backing such as cardboard; other times, they would be tacked into place with metal tacks. Unfortunately, these methods often did more harm than good to textiles over the years. Cardboard and other non-acid-free backings off-gas, which means they release chemicals into the air and, in this case, straight into the textiles covering them. The off-gassing causes discoloration and can break down fibers long before their time. If a textile is attached to/next to cardboard and in a closed environment, such as a frame with a glass covering, then it’s sitting and stewing in those chemicals and degrading even faster. The glues and tacks also contribute to the degradation of textiles—glues can discolor fabrics over time and do even more damage depending on the chemicals released over the years. Metal tacks might seem safer, but they often corrode out of sight causing areas of staining. Tacks also create uneven tension in the cloth, and over the time, this results in the cloth becoming distorted. In addition, in order to use the tack, one must intentionally put a hole in the cloth, which when combined with tension, can turn into a much larger opening than originally intended.
Options for Safe Framing
So how do you frame or mount textiles safely? First, it depends on the type of textile you want to display—is it a family heirloom or a modern piece that you’re not intending to save for posterity? I have friends who make dozens of fun embroideries a year for display with cute sayings or pop-culture references. These pieces can be treated much differently than a historical piece.
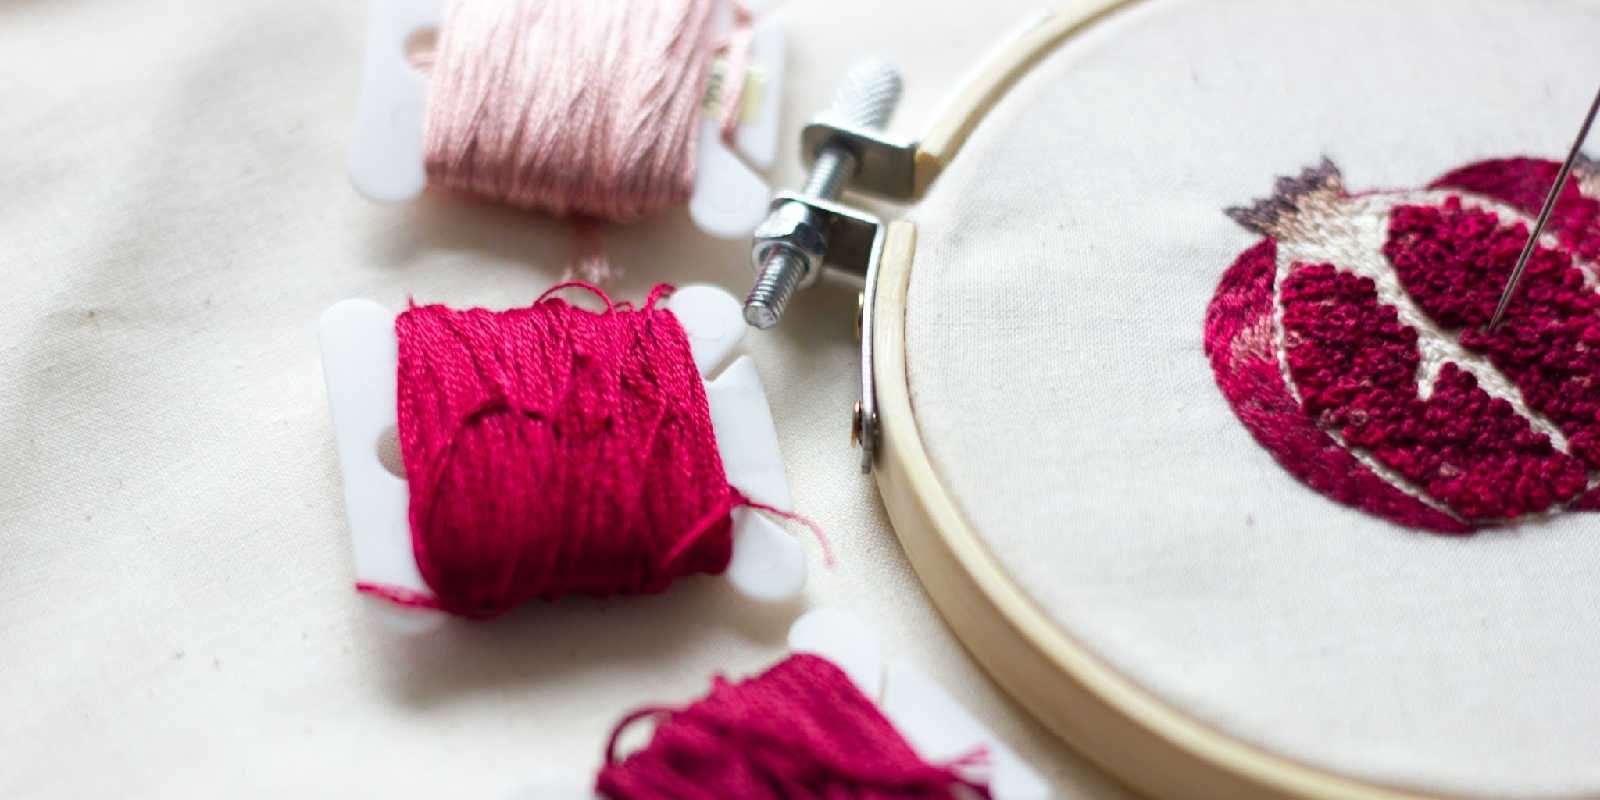
For smaller, more modern pieces, displaying in an embroidery hoop is a fun option. It keeps the tension even around the entire piece and gives the viewer insight into the embroidery or cross-stitch process. Hoops, however, whether plastic or wood, are not acid free and thus aren’t good for long-term display or antiques. You can also use a more traditional frame for those pieces, but again, the frame won’t be acid free and can damage the cloth over a long period of time.
Safely Prepare Textiles for Framing
For those extra-special pieces, you’ll want to start with acid-free matboard (this can be purchased just about anywhere that does framing) and a cotton or cotton-polyester cloth to serve as a backing fabric. Cut the matboard larger than the piece you’re displaying. Wash the backing cloth, dry it, and press it flat. White/natural fabrics are best to use to prevent dye migration.
Backing fabric, matboard, and glue ready to attach the first edge.
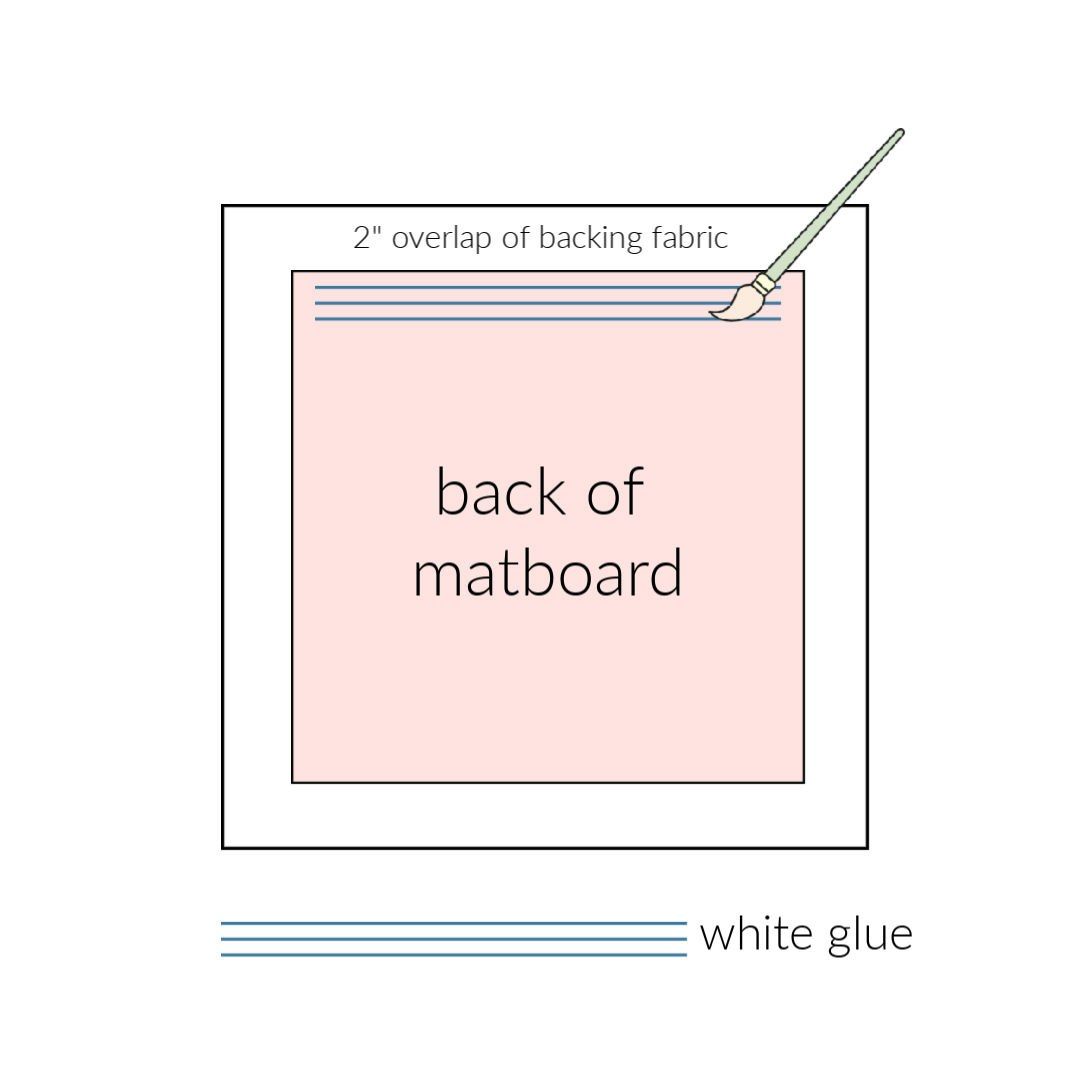
Cut the backing cloth so it’s roughly 2 inches larger on all sides than the matboard. Place the backing cloth right side down on a flat work surface. Using a brush and white glue, carefully paint glue along one edge of the back of the matboard—do not go all the way to the edge and do not get glue on the sides or front of the board. Carefully place the matboard front-side down and centered on the backing cloth. Fold down one edge of the backing cloth onto the glue-covered matboard. Make sure the fabric is pulled taut so there are no wrinkles. Let the glue dry completely. Repeat the glue application and process of attaching fabric one edge at at time until the board is fully covered with the backing fabric on the front and the fabric allowance is glued properly to the back. Apply glue only to the board, not to the backing fabric. Trim extra fabric from the back as needed.
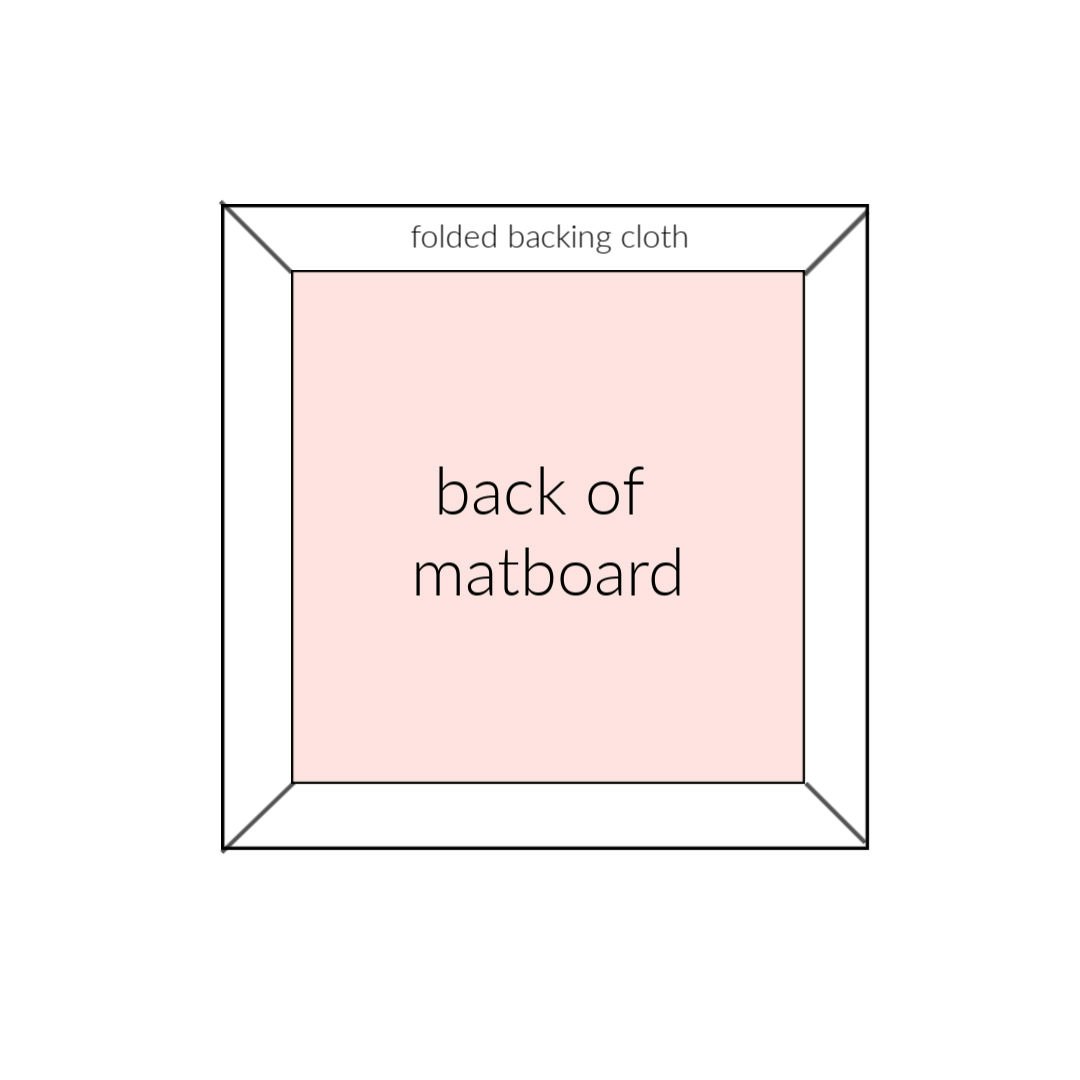
The back of the matboard after the backing fabric has been glued in place and extra fabric trimmed.
Once the backing fabric is applied and completely dried, the textile you want to display can be sewn to it. Make sure to use a colorfast cotton or cotton-polyester blend sewing thread. If you need help positioning the textile, cut out a template the same size as the textile you want to display and use running stitches to outline it on the backing cloth. When sewing your display textile to the backing cloth, you can get creative with how you sew it—you can use small, almost-invisible stitches or decorative stitches that add effect. If you need to sew more than just the edges—for example if a heavy bit of embroidery won’t sit flat on the backing—stitch that in place, too. If stitching to cloth that’s pulled taut on a flat, hard surface sounds too difficult, you can place a piece of batting between the matboard and the backing cloth (before you glue the backing cloth to the matboard) to give more room for stitching—it’s up to you.
From here, the piece can be displayed in or out of a frame. Using a frame with a covering is beneficial because it also protects the fabric from dust and dirt and so can keep your textile even safer in the long run.
If you use a frame and it has a glass/plastic front covering, make sure that the covering doesn’t touch the textile. Having a layer of acid-free matboard framing the textile, similar to what one might do with a painting, is a big help in keeping the textile from coming in contact with the covering.
For more information about mounting and framing, including museum-level techniques/materials, check out the CCI Notes from the Canadian Conservation Institute listed in Resources. If you want to mount or frame an extremely old or delicate fabric, or if you are in any way worried, seek out a professional who understands conservation. While many frame shops use archival materials and acid-free matboards, they don’t always have a good knowledge of conservation and can damage textiles or frame them in such a way that causes damage in the long term. Conservators and textile-display experts can safely and beautifully create displays for you to treasure for years to come. When in doubt, always seek the advice of a professional.
The next time I write, I’ll talk about shadow box–type displays for those textiles that are more 3-dimensional.
Resources
- Conservation Framing of Embroideries and Other Flat Textiles
- How do I find a Conservator in My Area (Video)
- Mounting Small, Light, Flat Textiles
Christina Garton is the editor of Easy Weaving with Little Looms.
Originally published June 19, 2020; updated February 17, 2023.