
For centuries and probably millennia, humans have used cloth to decorate the walls of their homes. In older times, hung cloth would insulate the home, cut the chill of stone walls, and add a bit of beauty to the indoors. Today, most people hang cloth for aesthetic reasons, and if you’re a textile lover like me, you might have a nice selection of antique and global textiles on display around your house. As a former museum professional, I often get questions from friends about how to hang their textiles without damaging them. While there’s no end-all, be-all method that works perfectly for every textile, there are some good options and guidelines you can follow to keep your textiles safe while on display.
The key to hanging most textiles safely—especially heavy ones such as thick tapestries or rugs—is to distribute the weight on the hanging mechanism as evenly as possible. This can be done in a number of ways, and which method you choose should depend on the particular textile. Never use nails or metal pins directly in your textile. Not only can they rust and discolor fabric, they won’t evenly distribute the weight of the textile and can cause it to distort.
First and foremost, it’s important to know whether your textile is strong and stable enough to hang on the wall. If there’s any question at all about the possibility of damaging the textile, talk to a conservator or a collections or display professional at a local museum. Always exercise caution when dealing with antique and extra-delicate pieces and never hesitate to get a second opinion if you are at all worried.
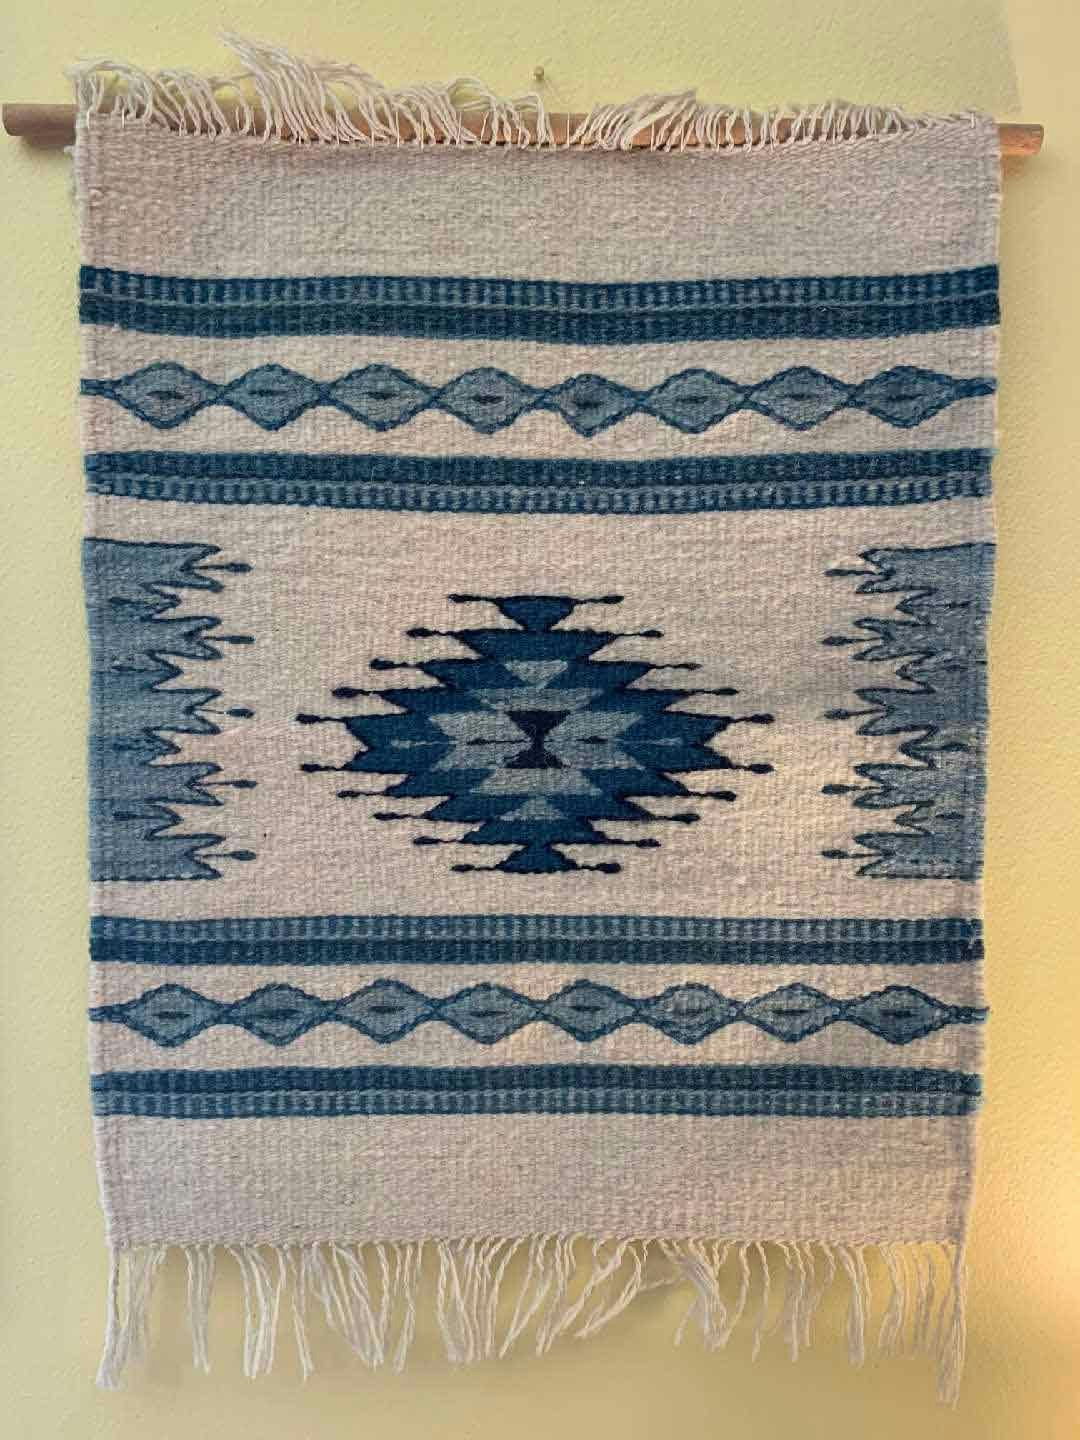
One of Christina's tapestries hung using a dowel rod. The tapestry is small and lightweight and is considered a low-risk textile for hanging in this manner. Photo by Christina Garton
One option for some modern, stable textiles is to use a dowel rod as a hanger. If the textile in question is fairly lightweight and won’t be damaged by sewing, I’ll often sew the dowel rod directly to the textile using white/undyed cotton thread. This method should only be used if the textile is very lightweight and won’t be distorted where the threads enter the top of the textile to hold it in place. If there’s any question at all about possible distortion, do not use this method. Wood can also discolor or damage cloth, so if you’re working with a historical textile or one that isn’t stable, do not use this method. There’s a reason you won’t see dowel rods used this way in art museums or galleries, but for many lightweight textiles hung in the home, it works fine so long as you exercise caution.
A safer, more stable option similar to the dowel-rod method is to sew a sleeve of cotton fabric to the back of the textile into which a dowel rod or other hanging apparatus can be slipped. This is nice because it better distributes the weight of textile and won’t distort the top. (Just make sure that the sewing won’t be too visible on the right side of the fabric!) The same warnings about wood apply here, although it isn’t as much of a problem if your fabric sleeve goes the width of your fabric. If you use a metal or plastic curtain rod, inspect it regularly for rust or discoloration. Again, don’t use this method on heavy fabrics such as rugs or tapestries, and if there’s any question about the stability of your cloth and how it will react to the hanger, ask a professional before going forward.
One of the best and safest options is to use loop-and-hook fasteners such as Velcro. Velcro works well for heavy textiles and is capable of holding a surprising amount of weight given how light it is. Sew one strip of Velcro to a sleeve of undyed cotton cloth with white/undyed cotton thread and sew the sleeve to the to the back of your textile. Attach the corresponding strip of velcro to a piece of wood or something and then attach that piece to your wall. For a more detailed explanation of how to hang a textile with Velcro—with illustrations—this document from the Canadian Conservation Institute has it all. If you have several textiles you like to switch out in the same location, this is a great method for easy hanging and removal.
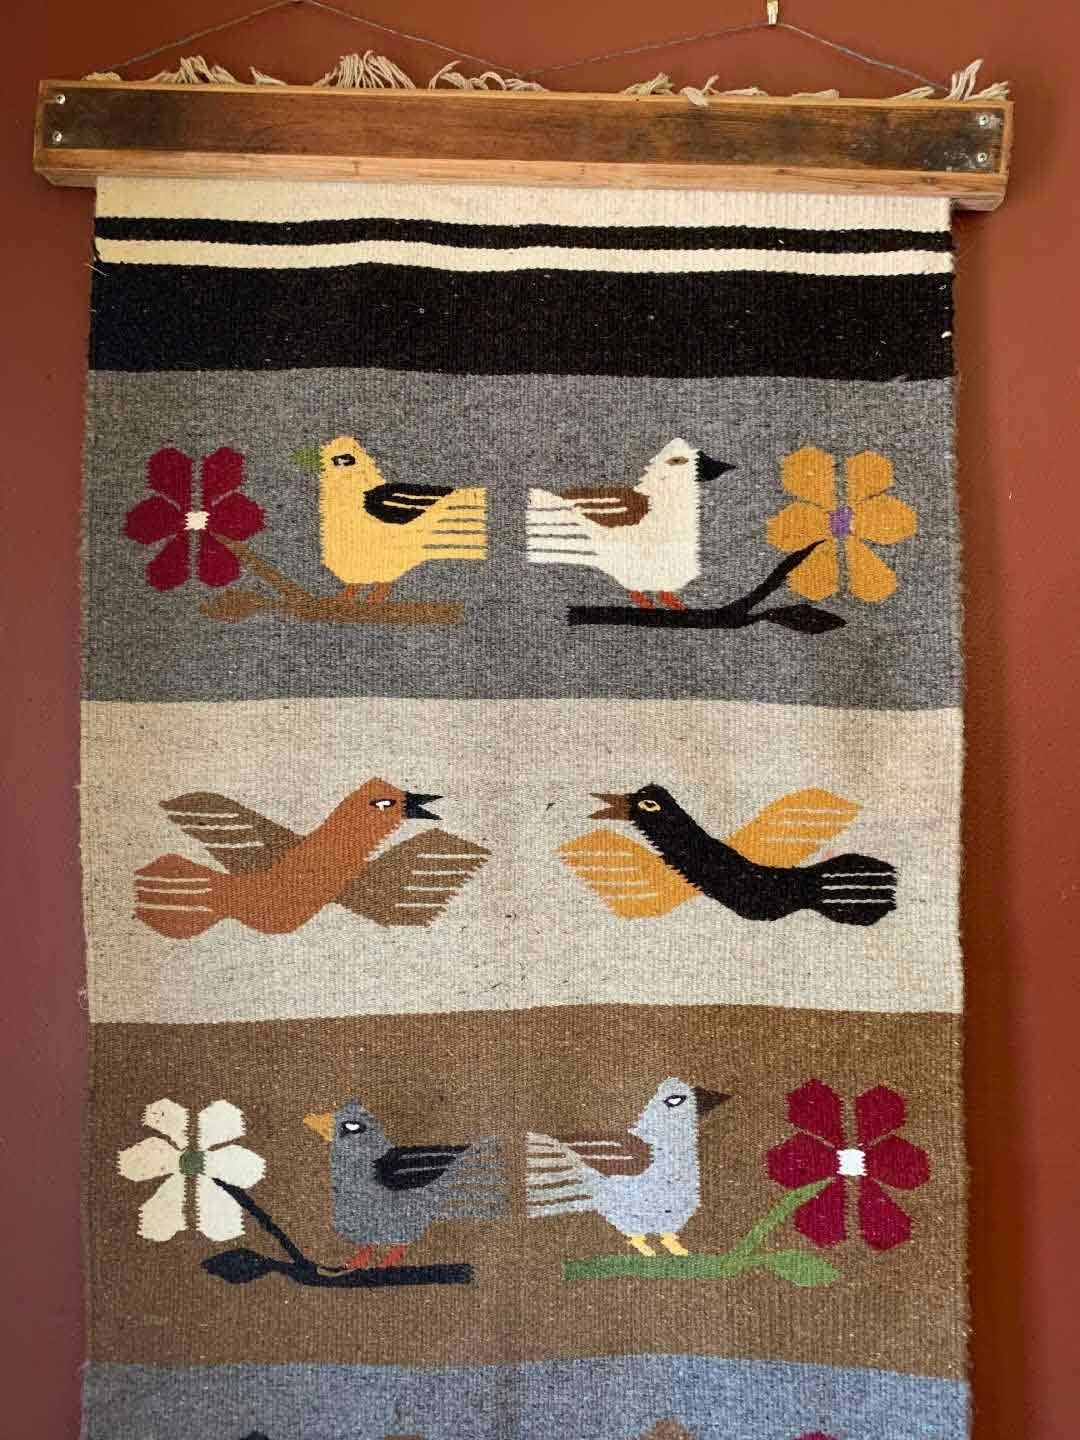
Christina’s husband made this rug hanger to display a rug purchased at local boutique. According to the boutique owner, it was most likely one of many rugs mass produced in Juarez in the 1970s for the tourist trade. Because the rug isn’t of historical importance (although it is pretty!) and is structurally stable, the rug hanger is considered a low-risk option. Photo by Christina Garton
A fun, decorative option is to use a rug hanger. Rug hangers are typically made up of two pieces of wood with a tensioning device or devices. The top of the textile is sandwiched between the two pieces of wood, which are then tensioned to keep the textile in place. No holes should need to be made in the textile to use a rug hanger—the textile will hang using tension alone. Rug hangers are also nice because they evenly distribute the weight all across the top of the fabric so you don’t have to worry about distortion. As an added bonus, for those of us who prefer utilitarian objects to be both useful and beautiful, many gorgeous handcrafted options are available. Once again, though, woods can damage and discolor cloth, so use these hangers at your discretion.
These methods work well for many textiles, but not all. Next in the series, I’ll cover framing and mounting textiles as well as shadow box type displays.
Resources
- “Conservation Framing of Embroideries and Other Flat Textiles” CCI Textile Lab. Minister of Public Works and Government, Canada.ca. (This has an excellent list of materials safe for more textiles and ones to avoid.)
- “How Do I Find a Conservator in My Area?” (Video)
- “Velcro Support System for Textiles” CCI Textile Lab. Minister of Public Works and Government, Canada.ca.
Christina Garton is the editor of Easy Weaving with Little Looms.
Originally published June 5, 2020; updated February 10, 2023.