I love discovering—or I should more accurately say, rediscovering—crafts. For many years I’ve been given various books on “new” crafts to try. Books on bobbin lace, tatting, and kumihimo all grace my shelves. However, it wasn’t until a reader wrote to PieceWork after reading about the women in Jane Austen’s novels doing it that I knew anything about netting.
Netting is the process of tying knots to create—you guessed it—a net. Net-making has been around since the Mesolithic period and used for various purposes over time—everything from transporting fish and catching basketballs to delicate pieces used to hold a woman’s hair in the Victorian era.
As luck would have it, upon receiving the email I had been looking through my Weldon’s collection and there is a beginning netting section in Volume 2. Never one to back down from a challenge, I started searching out tools online.

Lacis Netting kit includes one weaving needle, two netting shuttles, and three mesh sticks or gauges.
An anchor point is also needed and for this I used a bobbin lace pillow. To begin, tie some thread into a loop and pin it to the anchor. This is called the foundation loop. After loading the shuttle with thread, tie the loose end to the foundation loop.
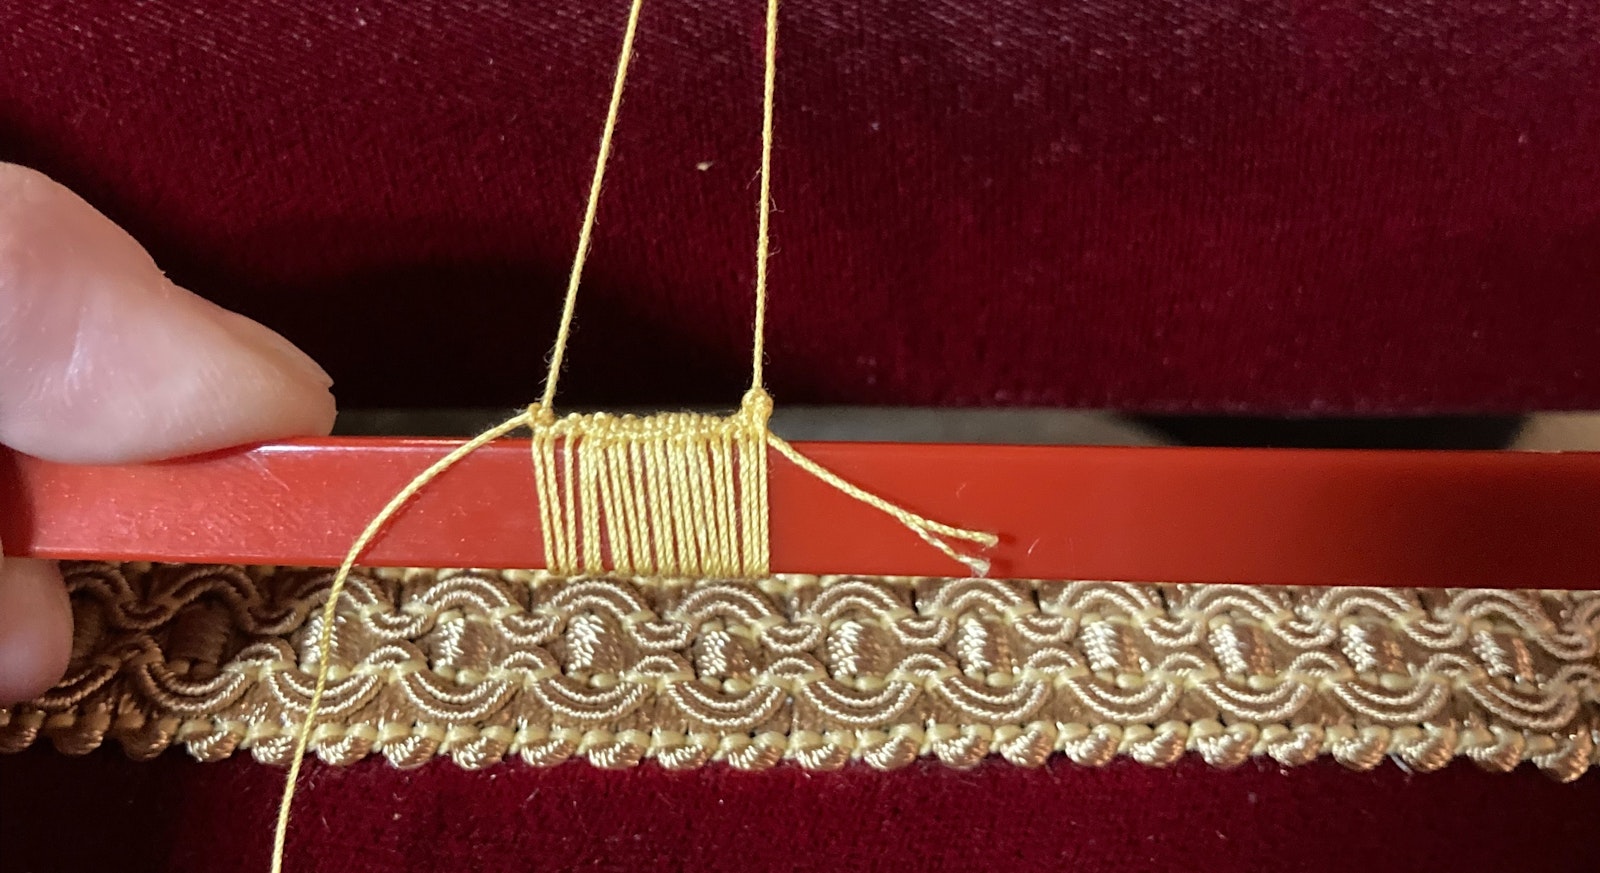
Hold the gauge with your thumb and index finger of your non-dominant hand at the knot between the working thread and the foundation loop. Bring the working thread over the gauge, around the first three fingers, behind the gauge to your thumb and index finger, and create a large loop over the foundation loop.
The shuttle then comes down behind the gauge and around the pinky finger; this is a very important step.

Catch the thread with your pinky.
The shuttle goes down into the ring finger loop, behind the gauge, and up into the foundation loop. 
Inserting the shuttle.
Next, release the thread held by the thumb. There will now be tension on both loops held by the fingers. 
Two loops, one around the ring and one around the pinky.
Release the ring finger loop and pull the pinky finger loop and shuttle to tighten the loop to the gauge, and you have one loop made!
Continue to work in the foundation loop for the desired width. Turn the piece over and continue the next row using each progressive loop in the same manner as the foundation loop from the row before.

The end of row 2.
For most of you, this is backwards because I am left-handed. This is just beginning with netting as there are also instructions for squares, rounds, and different stitches or knots to tie along with ways to fill in spaces. Yet another thread-based craft to learn!
Katrina King just keeps learning in craft and life. Along with lace knitting, she also has crochet, weaving, spinning laceweight yarn, embroidery, and tatting in her tool bag. You can follow her craft adventures at Threaded Dream Studio. When she’s not crafting, she can be found teaching at her local yarn shops, reading epic fantasy novels, and chasing her daughters to various activities in and around Fort Collins, Colorado.
You can find a selection of Weldon's in the Long Thread Media Store here.