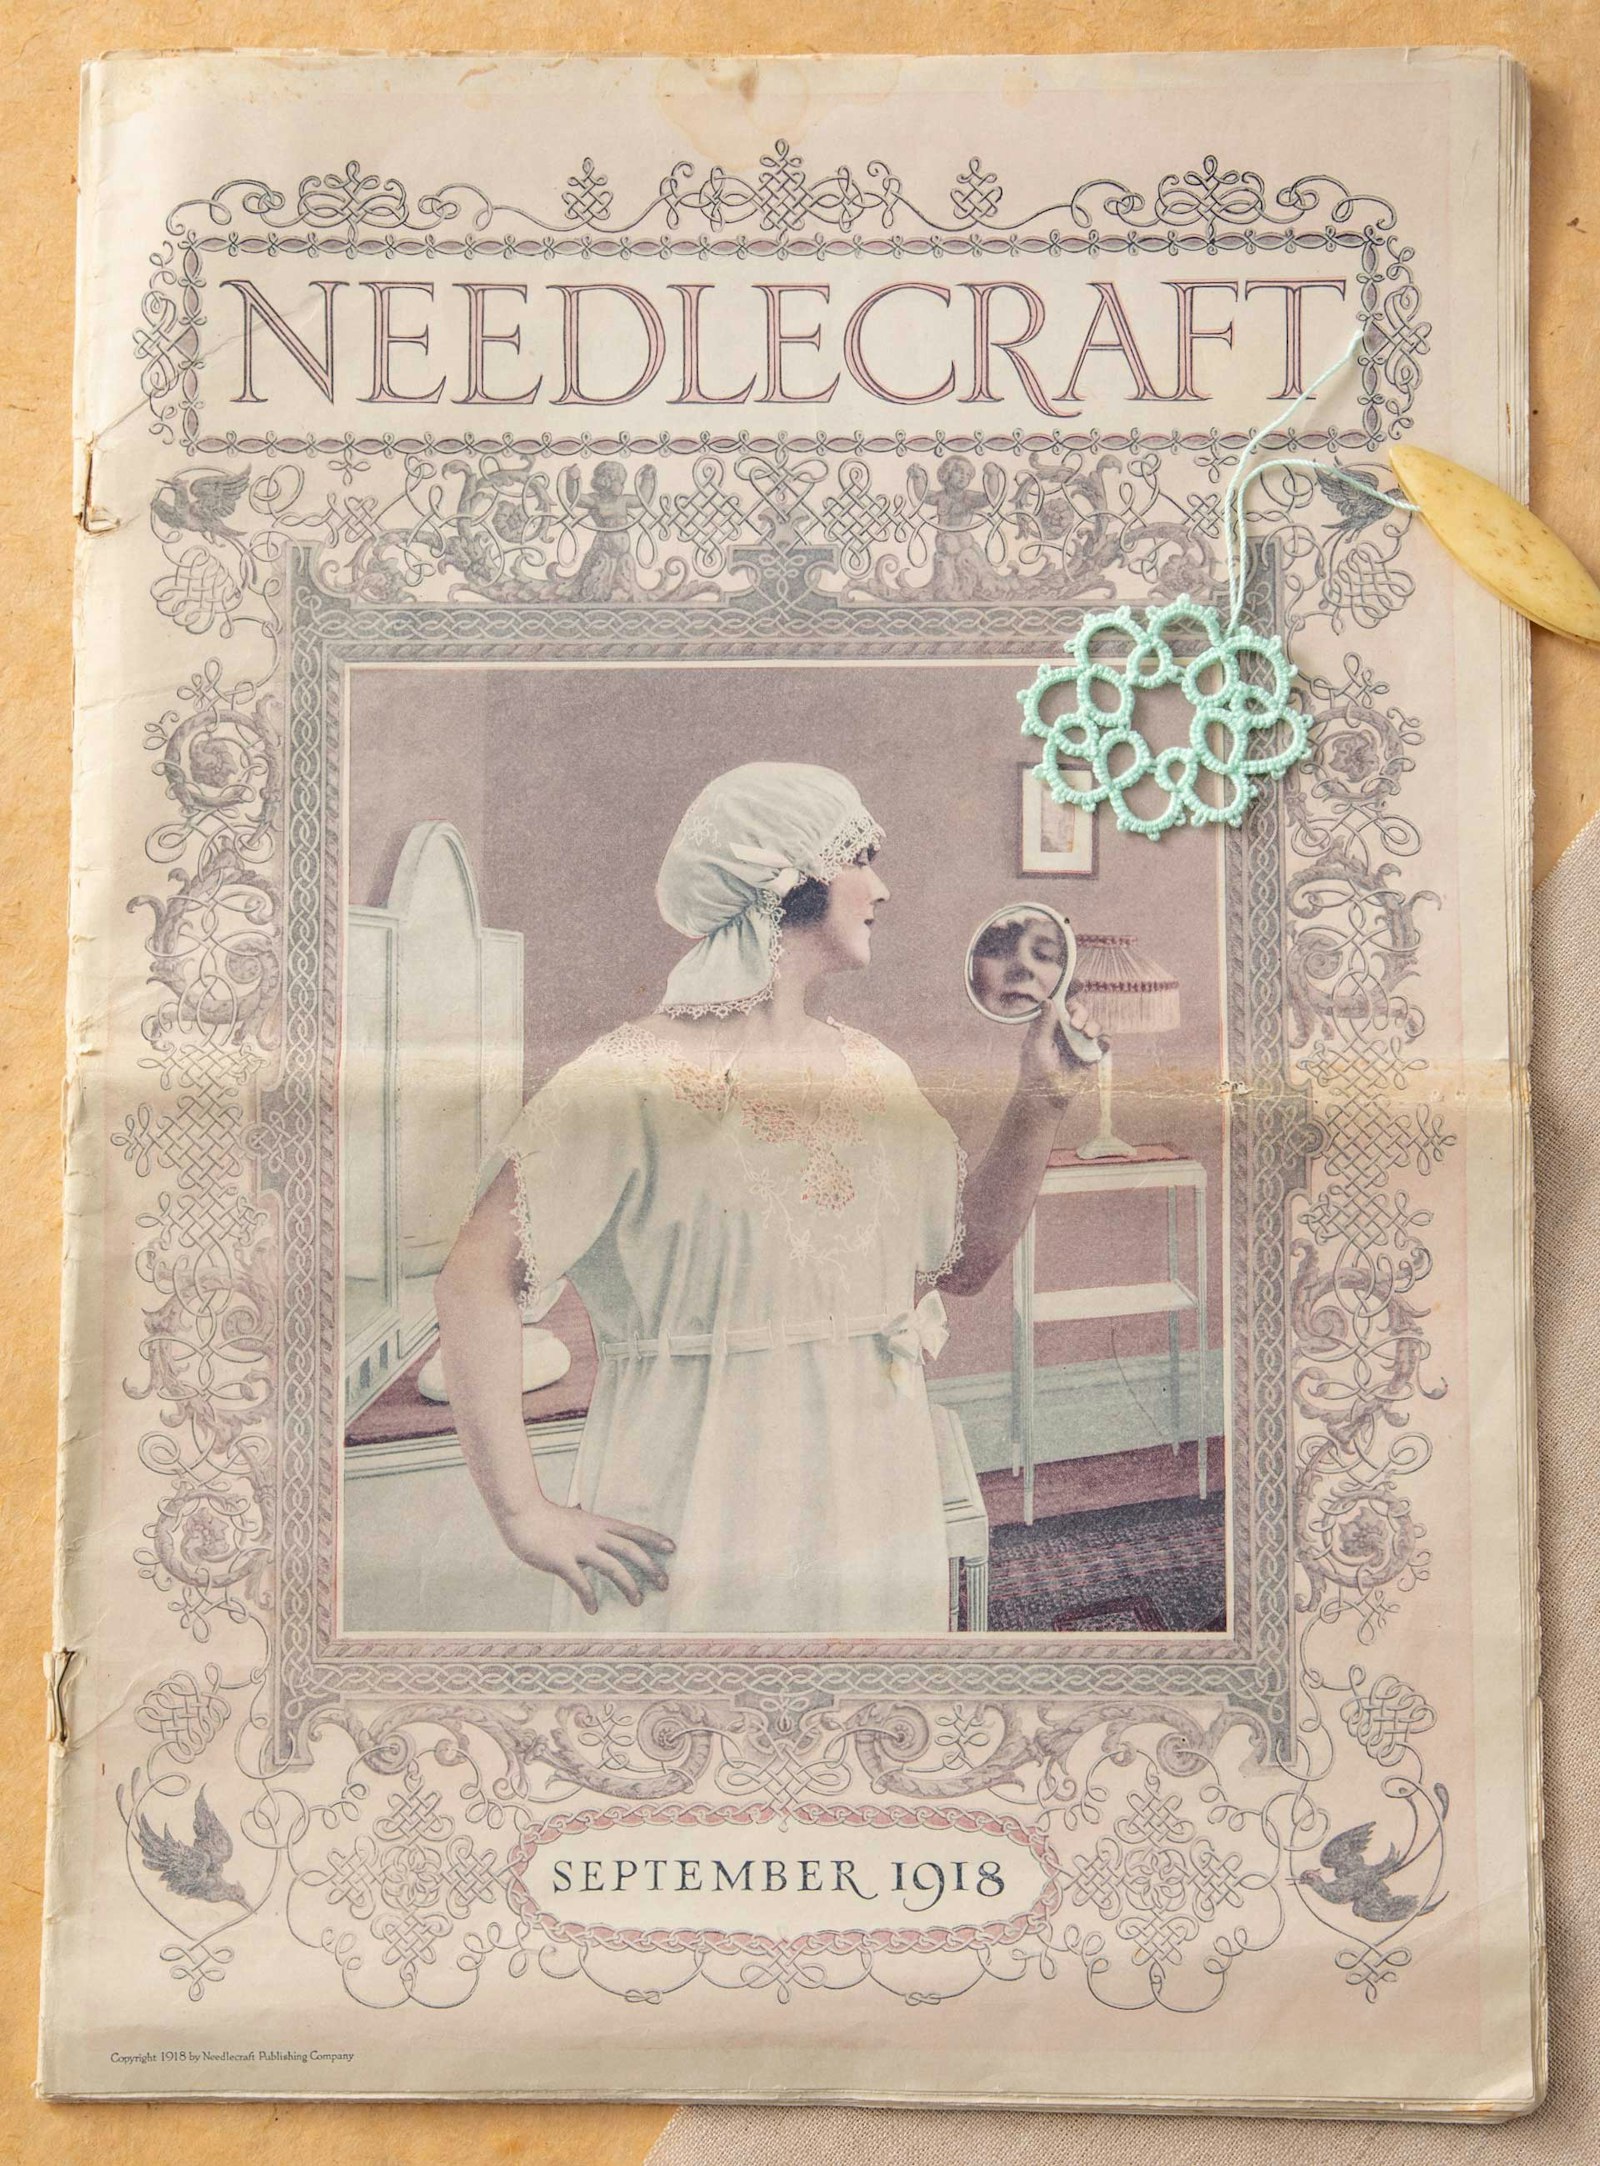
In September 1918, subscribers were receiving the new issue of Needlecraft magazine, and the end of World War I was just six weeks away. But in the magazine, the war’s impact was evident in a full-page ad for nurses and in the “devastated France” letters and quilts. On the magazine’s cover was a dainty garment any woman could create “at very slight expense.” All she had to do was buy the cap and gown patterns, but the tatting instructions were provided.
In 1918, tatting knowledge and skills were assumed. The pattern called for size 50 crochet thread, which is no longer commonly available at craft stores or online. Likewise, tatting knowledge is required to translate the one-hundred-year-old instructions into modern terms, resolve ambiguities, and figure out misprints, such as the fact that the “large” and “small” medallion descriptions are reversed. The cover picture has insufficient resolution to discern the fine details of tatting. Only the photo of the tatted trim on page 15 of the magazine shows it clearly.

Page 15 of the September 1918 issue of Needlecraft magazine.
For my re-creation, I used size 30 crochet thread. And after some trial and error, I did match the tatted edge but couldn’t determine if I’d replicated the neck edging seen in the cover picture. In one of my interpretations of the pattern, my large medallions’ open centers stayed open. My blouse displays my best guess on what the intended pattern could be because the medallion placement is also subject to interpretation. Although this may not be what Ms. Bodwell envisioned, I am happy with the result.
A Dainty Empire Gown with Cap to Match
Illustrated on Front Cover
By Addie May Bodwell
Fortunate is the woman whose fingers are so skilled in the use of needle, tatting-shuttle and crochet-hook that she can fashion for herself the dainty garments in which every normal feminine heart delights. A little pleasant work now and then—and not really work but recreation—soon makes her the proud possessor of apparel which her far wealthier sisters may well envy, and at the very slight expense save, as suggested, the spare half hours which are restful spent in this way.
The embroidery employed on the gown and cap presented is of graceful design and in no way elaborate. The work is done entirely in padded satin-stitch—stems, leaflets and the outlining of the five-petaled flowers. At the center of each flower is an eyelet, and from this radiate the stamens, one for each petal, which are tipped by eyelets; although simple in the extreme, the design is a rather unusual one, particularly as to treatment, and the effect thoroughly pleasing. There is no more satisfactory style of gown than the empire; it is easy to make, with but the underarm seams, and attractive in appearance. The slashes which hold the ribbon are about one and one-fourth inches in length, the ribbon passing under the half-inch space which separates them, and over the two-inch width between.
An applied yoke of tatted medallions, with edging for sleeves and cap to match adds greatly to the charm of this appealing set of lingerie.

Laureen’s tatted medallions made from the 1918 instructions.
Using crochet-thread No. 50, or finer, if preferred, make a ring of 6 double knots, (picot, 6 double knots) 3 times, close; a chain of 4 double knots, (picot, 4 double knots) 3 times; a ring of 5 double knots, join to side picot of last (large) ring made, 6 double knots, picot, 5 double knots, close; a chain, as before; a ring of 6 double knots, join to last picot of small ring, 6 double knots, join to middle picot of large ring, 6 double knots, picot, 6 double knots, close; repeat, alternating large and small rings, joining as directed, and making a chain between each 2 rings, until you have 8 of each; join the last small ring by side picot to 1st large ring made, and last chain at base of 1st ring, fastening off neatly. This completes a small medallion used in combination with the large ones, and which will serve to form other yokes, collars, or what you will.
Make a ring of 8 double knots, picot, 8 double knots, close; a chain of 4 double knots, (picot, 4 double knots) 3 times; a ring, as before, joining to picot of preceding ring; a chain of 4 double knots, picot, 4 double knots; a ring of 4 double knots, picot, 4 double knots, close; a chain of 4 double knots, picot, 4 double knots; a ring of 8 double knots, join to picot with 2 preceding (large) rings; a chain of 4 double knots, (picot, 4 double knots) 3 times; a ring like last, joining to same picot with preceding 3 rings; a chain of 4 double knots, picot, 4 double knots, join to 2d picot of chain of 1st scallop; join last scallop also to 1st, and last chain at base of 1st ring. This completes the large medallion, one of which is used for the center of the cap-crown. Sew it evenly in place, using fine stitches, then cut the material from underneath, and finish with a narrow hem.

Laureen used the 1918 instructions to create a tatted edging for a blouse she sewed with repurposed fabric.
For the band across front of cap, make a row of eleven small medallions, joining each to preceding by middle picot of 2 chains, leaving 2 fr[ont] chains on each side. For the edge make the scallop as directed in 2d row, only that the chain between scallops is like the preceding, not joined. Finish with a crochet chain to sew on by, as follows: Fasten thread in the picot which connects the group of 4 rings, chain 3 for a treble, then * chain 8, a double in 2d picot of the chain between scallops, chain 8, a treble in the picot which connects the next group of 4 rings; repeat. Sew this edging neatly around the cap and across the band, and finish with a bow of ribbon, matching in color that [was] used for the gown, at each end of the band. Use the same edging for the sleeves.
The yoke requires fourteen large medallions and eleven small ones. It is better to do the joining by means of needle and fine thread, passing the needle through 2 picots to be connected, after the medallions are basted to a pattern of stiff paper which is exactly right in size and shape, and tying in a tiny, firm knot. Such joining is not noticeable, and this method does away with the possibility of making a “misfit” joining, with the consequent necessity of cutting the work. Three large medallions are used for the front of the yoke, and three for each shoulder; the remainder are in curving line, with a small medallion between each two; a small medallion, too, fills the space between the second or lower medallion of the group of three, and the first and third.
The materials necessary to complete the tatted edging, listed in the magazine in 1918 prices:
No. 1376 D. (Cap, illustrated on Front Cover.) Perforated stamping – pattern, 20 cents. Transfer-pattern, 10 cents. Stamped on nainsook, 25 cents. Floss to embroider, 12 cents. Tatting-thread for edge, 15 cents extra.
No. 1377 D. (Nightrobe, illustrated on Front Cover.) Perforated stamping – pattern, 25 cents. Transfer-pattern, 15 cents. Stamped on nainsook, $2.00. Floss to embroider, 12 cents. Tatting-thread for edge, 30 cents extra.
Laureen Branting enjoys textiles, history, and textile history. She considers herself a “jack-of-all-trades and a master at none,” mostly because she has textile ADD—one hour spinning, one weaving (or maybe two?), sew a toy, then on to bobbin lace and tatting. Oh tatting, the ultimate portable craft!
This article first appeared in PieceWork Fall 2021.