Along with her article for the Winter 2023 issue of PieceWork, Nancy included the guidelines for the construction of mittens and slippers in the slip-stitch crochet tradition of the Amana colonies. We hope you enjoy this bonus content and would love to see your interpretations. Please send us your photos here.
The flat mitten and flat, high-topped slipper are traditional designs from Europe. There was no need to have written patterns. Both are made using easy-to-remember guidelines that can be varied for any size or yarn desired. The bodies are worked flat and even. Shaping is accomplished with simple increases and decreases along the outer edges. The simple chain 3 scallop edging finishing the cuffs indicates these are for a woman.
Materials
Part of the beauty of these patterns is that any size yarn can be used. DK weight yarn, and a 4 mm crochet hook (or perhaps one size smaller to get a firmer fabric), is similar to what is used in the Amana colonies.
Only the chain stitches in the round are worked in back loop only (there are only a few chain stitches). All the other stitches in that round and all of the continuing stitches are front loop only. You need to do the chains in back loop only so the front loop only side of the chain can be used to attach the thumb.
Mittens (Make Two)
- Make a chain long enough to fit around tip of thumb and knuckles when hand is held flat. Join to work in the round. Mitten will be worked in a spiral.
- Work one inch in back loop only slip stitch.
- Remainder of mitten is worked in front loop only slip stitch. Work one inch in front loop only slip stitch.
- Work to where the thumb separates from the palm, increasing one stitch every round, stacking increases on top of increases from the round below.
- Skip enough stitches between the thumb and palm for your hand size, and chain a number equal to the number of skipped stitches, centered over the previous increases, to separate the thumb from the palm and fingers.
- Continue working the palm/fingers section, working back loop only slip stitch over the chains in the next round.
- Work even (in the front loop) to lower joint of index finger then decrease two stitches every round—one decrease centered over the thumb opening, and the other opposite this along the outer edge of mitten.
- Once the upper joint of the index finger is reached, add decreases in two more places—one centered on the front and one centered on the back of the mitten.
- Once the top of the longest finger is reached, slip stitch the opening closed on the inside of the mitten.
- Attach yarn to the thumb opening, and work even (in the front loop) to joint. Then, decrease two stitches every round—one centered on inside of thumb next to palm, and one opposite this on the outside. End when work clears tip of thumb and slip stitch closed on the inside of the mitten. Fasten off.
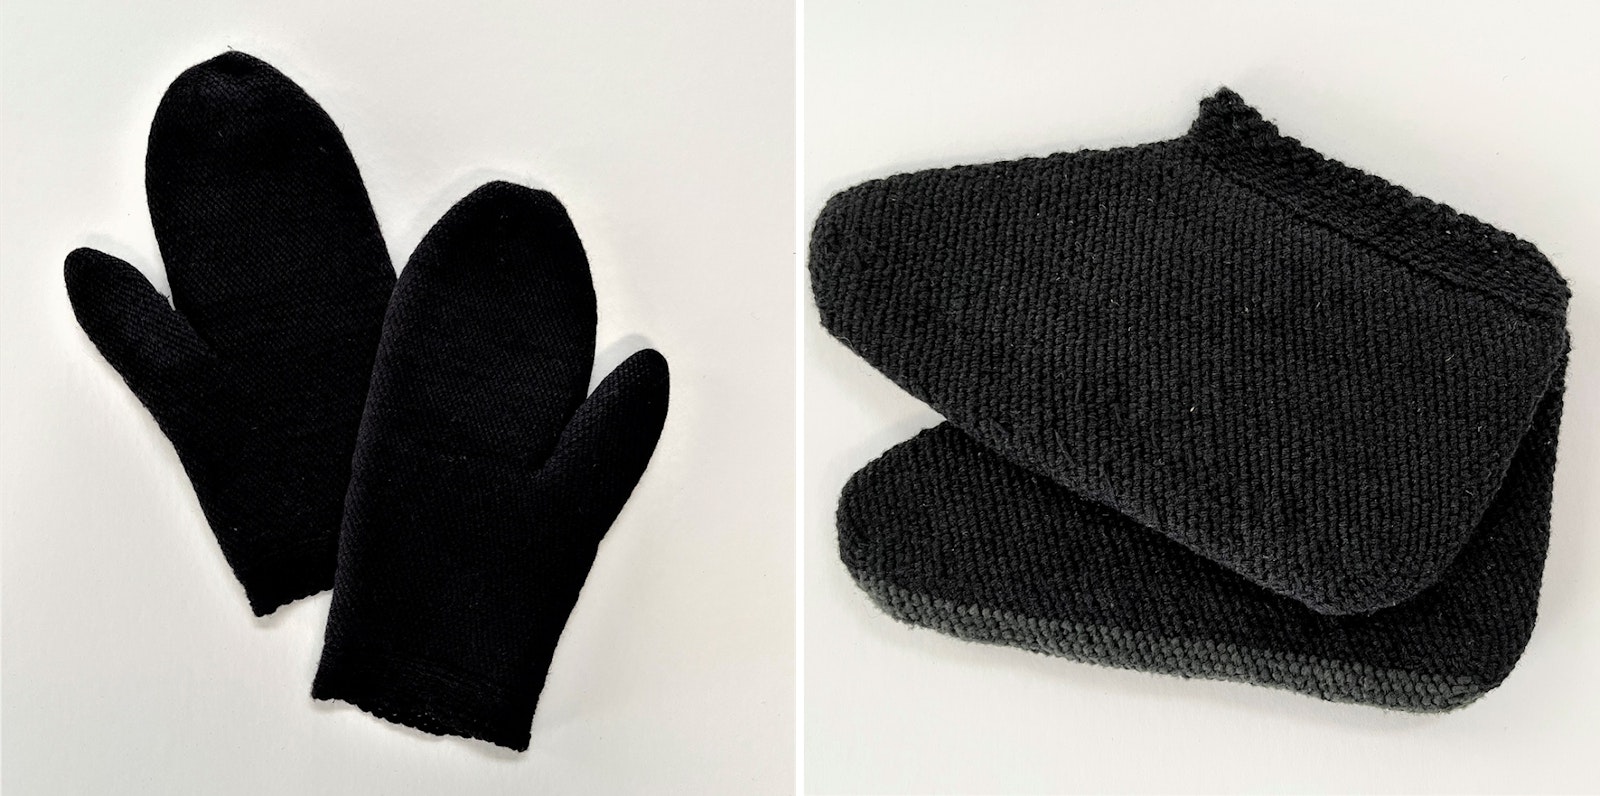
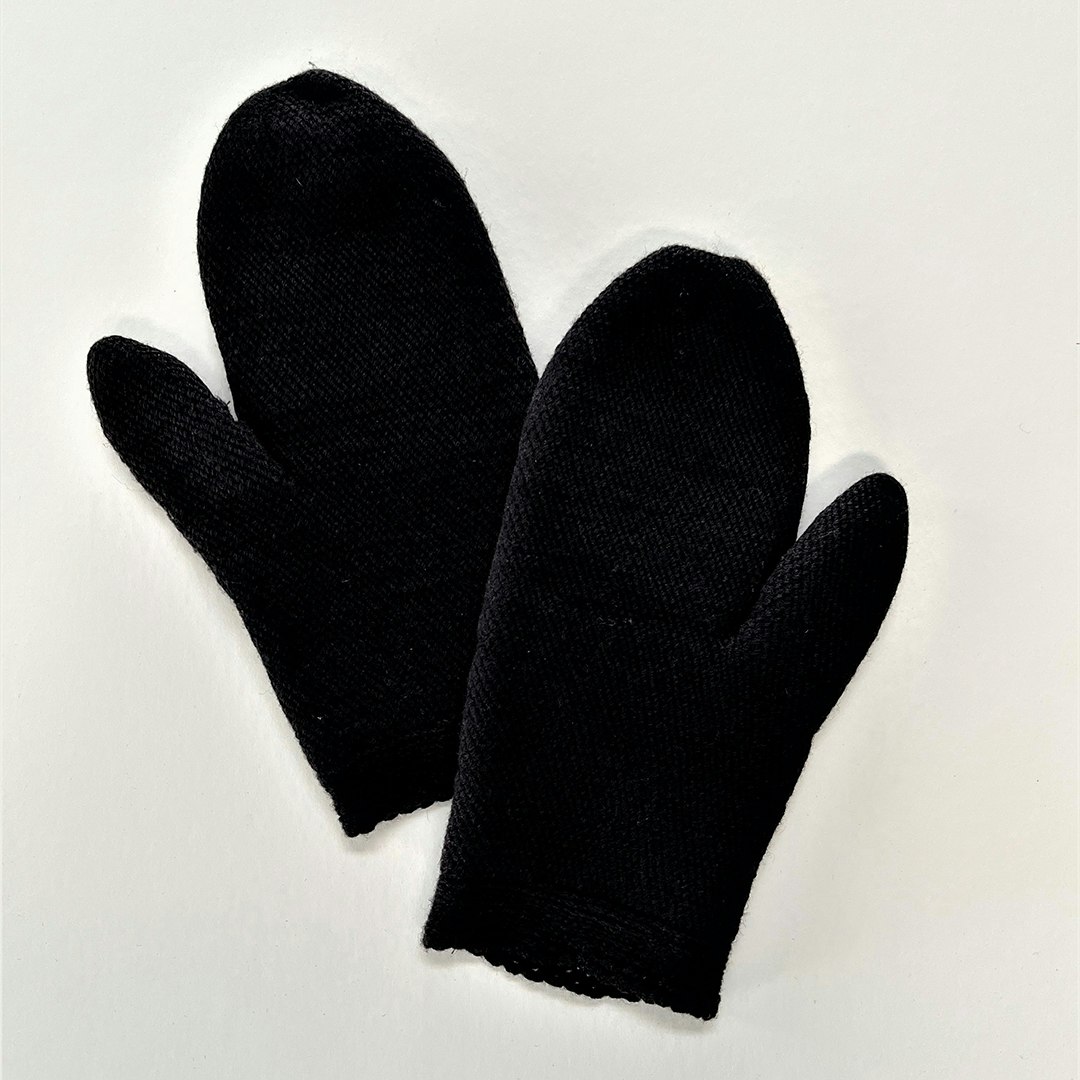 Identical right and left mittens worked in slip-stitch crochet. The simple chain-3 scallop edging that finishes the cuffs indicates these are for a woman. A164Mittens2. Mittens made by Louise Jung Gernand (1862–1938)
Slippers (Make Two)
- Begin at the center line of the sole. Make a chain twice the length from the ball of the foot to the heel. Join a circle. Using front loop only slip stitch for body of slipper, work in a spiral.
- Slip stitch in front loop only for one round.
- Form the sole: work (slip stitch, chain one, slip stitch [increase made]) in first stitch, repeat increase in second stitch, work half the stitches minus two in front loop only slip stitch, increase in each of next two stitches, finish round in front loop only slip stitch.
- For the next row increase in each chain-one. Repeat until width of sole is width of heel. Do this by laying your work flat with the chain stitches touching down the center so that it forms a rectangle. Your last round will form the perimeter of the rectangle.
- Make upper: work one round even, then work halfway across short end.
- Make a decrease by pulling up a loop in first stitch, but don’t pull through stitch on hook. Slip stitch in next stitch, pulling through all three loops on hook. Work rest of round even.
- Continue decreasing one stitch every round until slipper reaches ankle. Align the decreases by decreasing in the stitch before the previous decrease for one round, then decreasing in the stitch after the previous decrease on the next round. Continue alternating decrease placement in subsequent rounds.
- Make cuff: work even in back loop only slip stitch for one inch, then fasten off.
- Sew center bottom of slipper together on the inside of the slipper.
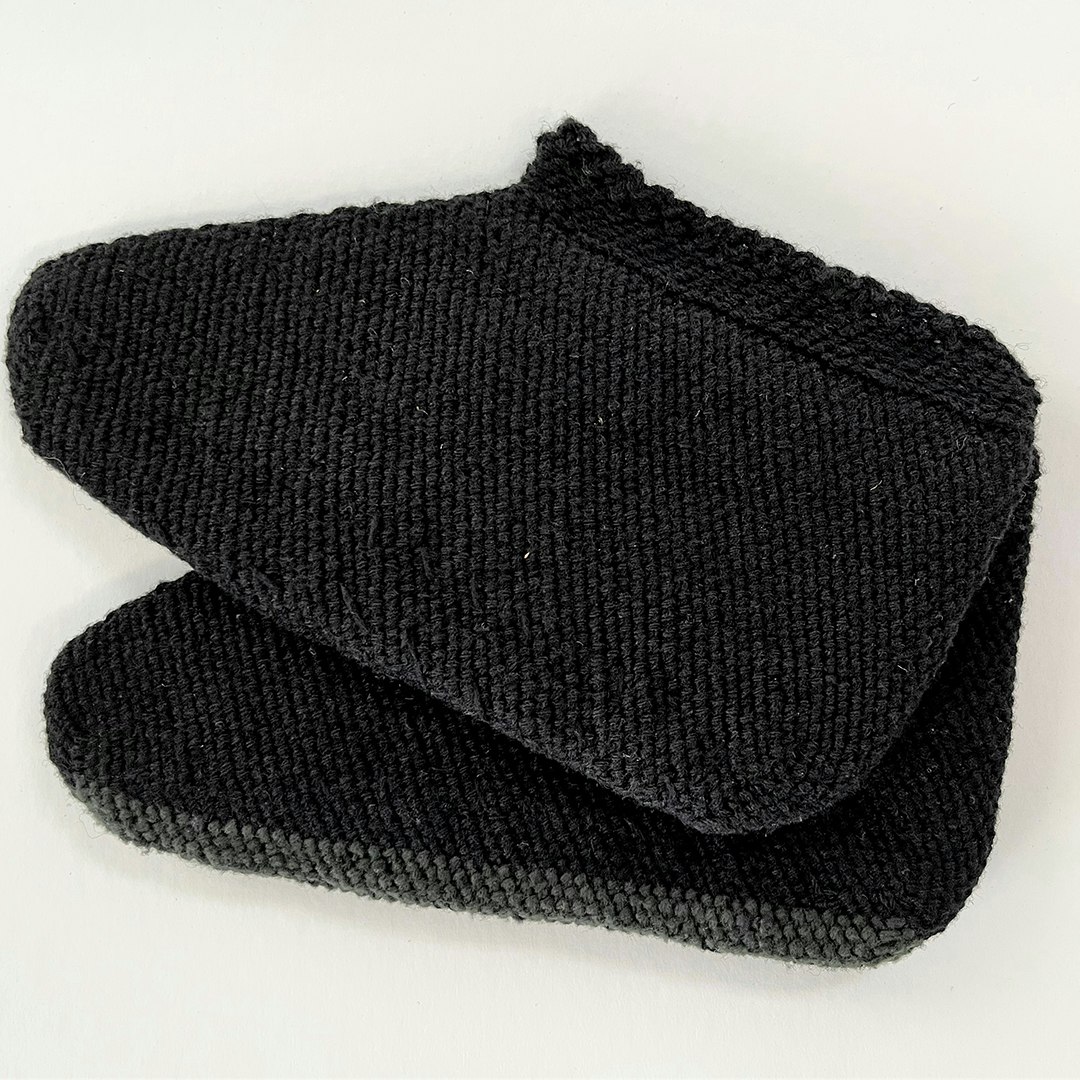 Slippers worked in a traditional pattern with increases and decreases along the outer edges only. One slipper has a dark gray bottom that would not show when
the slipper was worn. 2930Slippers1. Maker unknown
Slippers worked in a traditional pattern with increases and decreases along the outer edges only. One slipper has a dark gray bottom that would not show when
the slipper was worn. 2930Slippers1. Maker unknown
Learn more about slip-stitch crochet in Nancy’s article in the Winter 2023 issue of PieceWork.
Also, remember that if you are an active subscriber to PieceWork magazine, you have unlimited access to previous issues, including Winter 2023. See our help center for the step-by-step process on how to access them.
Although not from the Amana Colonies, Nancy Nehring grew up in Iowa and is descended from Germans who immigrated to rural Iowa about the same time as those who founded the Amana Heritage Society. Numerous visits to the Amana Colonies have given her insights to her own heritage. Although there is a tradition of crochet in Nancy’s family, it does not appear that any of them did slip-stitch crochet.