All Access Exclusive
Pansy Pin
A sweet needlepoint flower that will last all year.
A sweet needlepoint flower that will last all year. <a href="https://pieceworkmagazine.com/pansy-pin/">Continue reading.</a>
https://pieceworkmagazine.com/cdn-cgi/image/format=auto/https://www.datocms-assets.com/75076/1745942793-red-pansy-on-jacket-2-header.jpg?auto=format&w=900
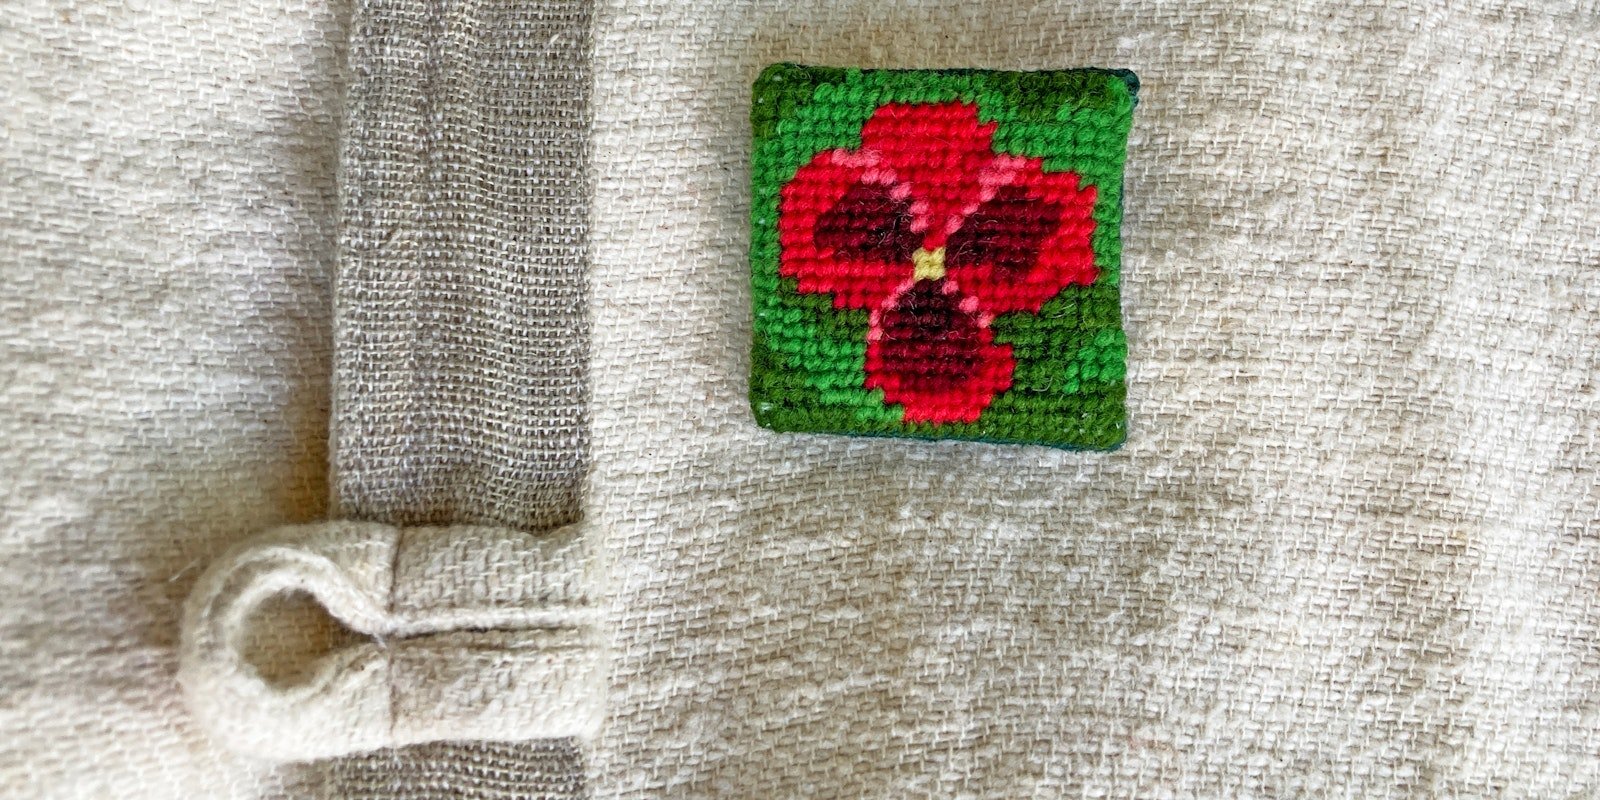
Stitch a pansy that will last forever to wear on your jacket. Photos by Angela K. Schneider
The PieceWork team has put together some fabulous accessories to spark your creativity and give you enjoyment throughout the year. We hope you find this year’s selection of accessories both charming and satisfying to make. Pick up your tools and get ready to have a fun and productive year!
Make a sweet needlepoint pansy for a boutonniere that never fades.
 Pansy detail.
ALL ACCESS EXCLUSIVE
ALL ACCESS EXCLUSIVE
Unlock the Full Article with a PieceWork All Access Subscription
Get instant access to this article and the entire PieceWork library of projects, inspiration, and expert instruction. With your subscription, you'll receive:
Unlimited access to the PieceWork Library, a digital miscellany of needlework ebooks, patterns, and more exclusively for All Access subscribers.
Stream 11+ needlearts videos and workshops
Unlock timeless techniques and heirloom-quality patterns
Learn from expert tutorials that deepen your historical craft knowledge
Enjoy unlimited access to exclusive content—updated regularly
Includes full access to PieceWork magazines + new issues.
PieceWork celebrates the rich history of needlework and makers from around the globe.
Plans start at just $10.99/month. Cancel anytime.