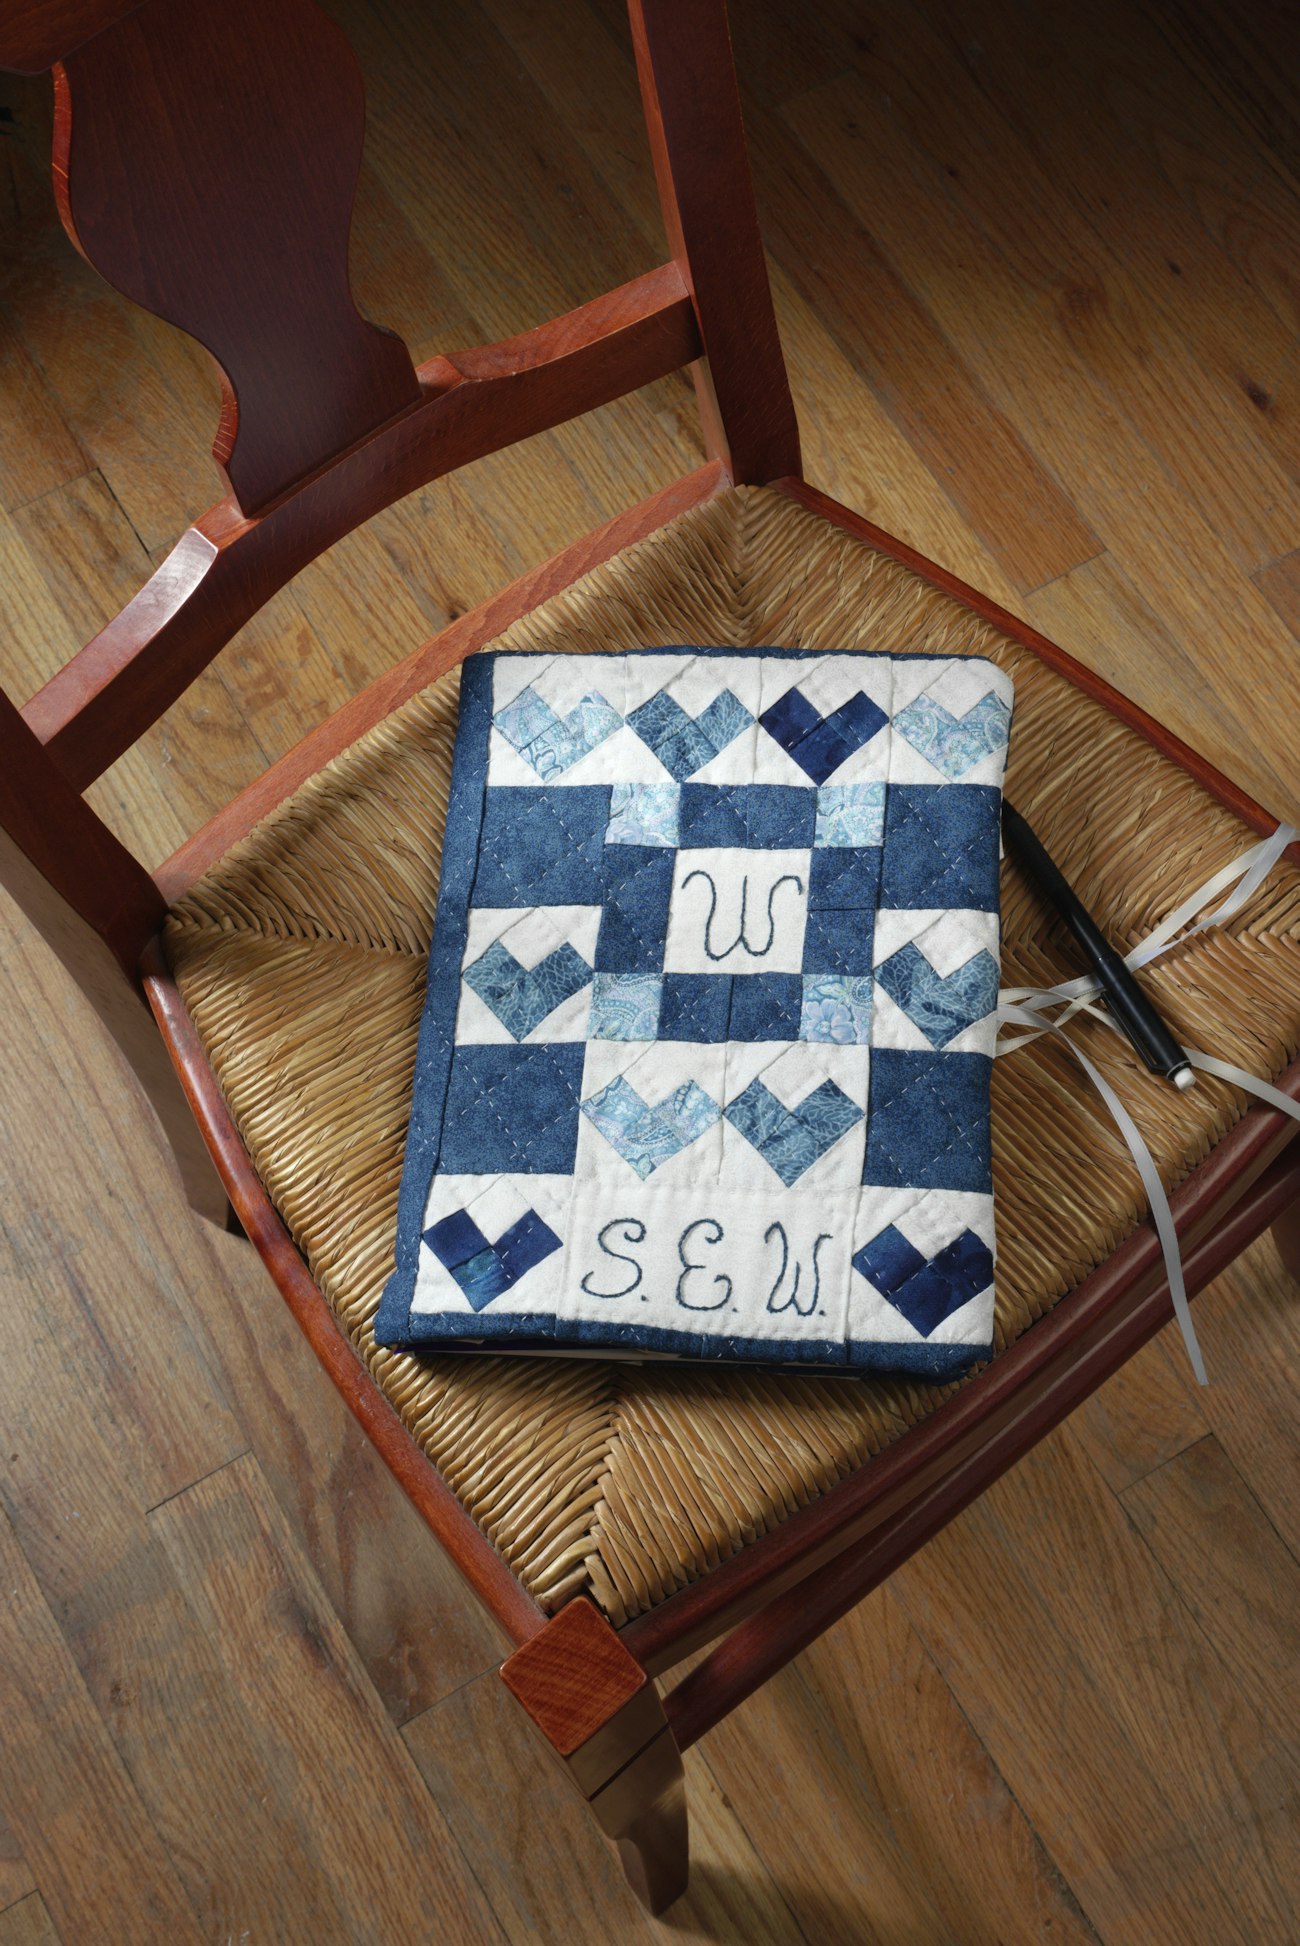
Meriwether Lewis kept one. Leonardo DaVinci did, too. Anne Frank taught us a thing or two about courage with hers. What do these historical figures have in common? They all were journal keepers. So am I. I combined my love of quilting with my love of writing and created a quilted journal cover to “dress up” my spiral notebooks.
Over the years I could have gone to the store and bought one of those fancy bound journals, but I was raised by Depression-era parents, taught by catholic nuns, and married an Illinois farmer, so my journals have always been very practical, but practical doesn’t mean you can’t spruce things up bit.
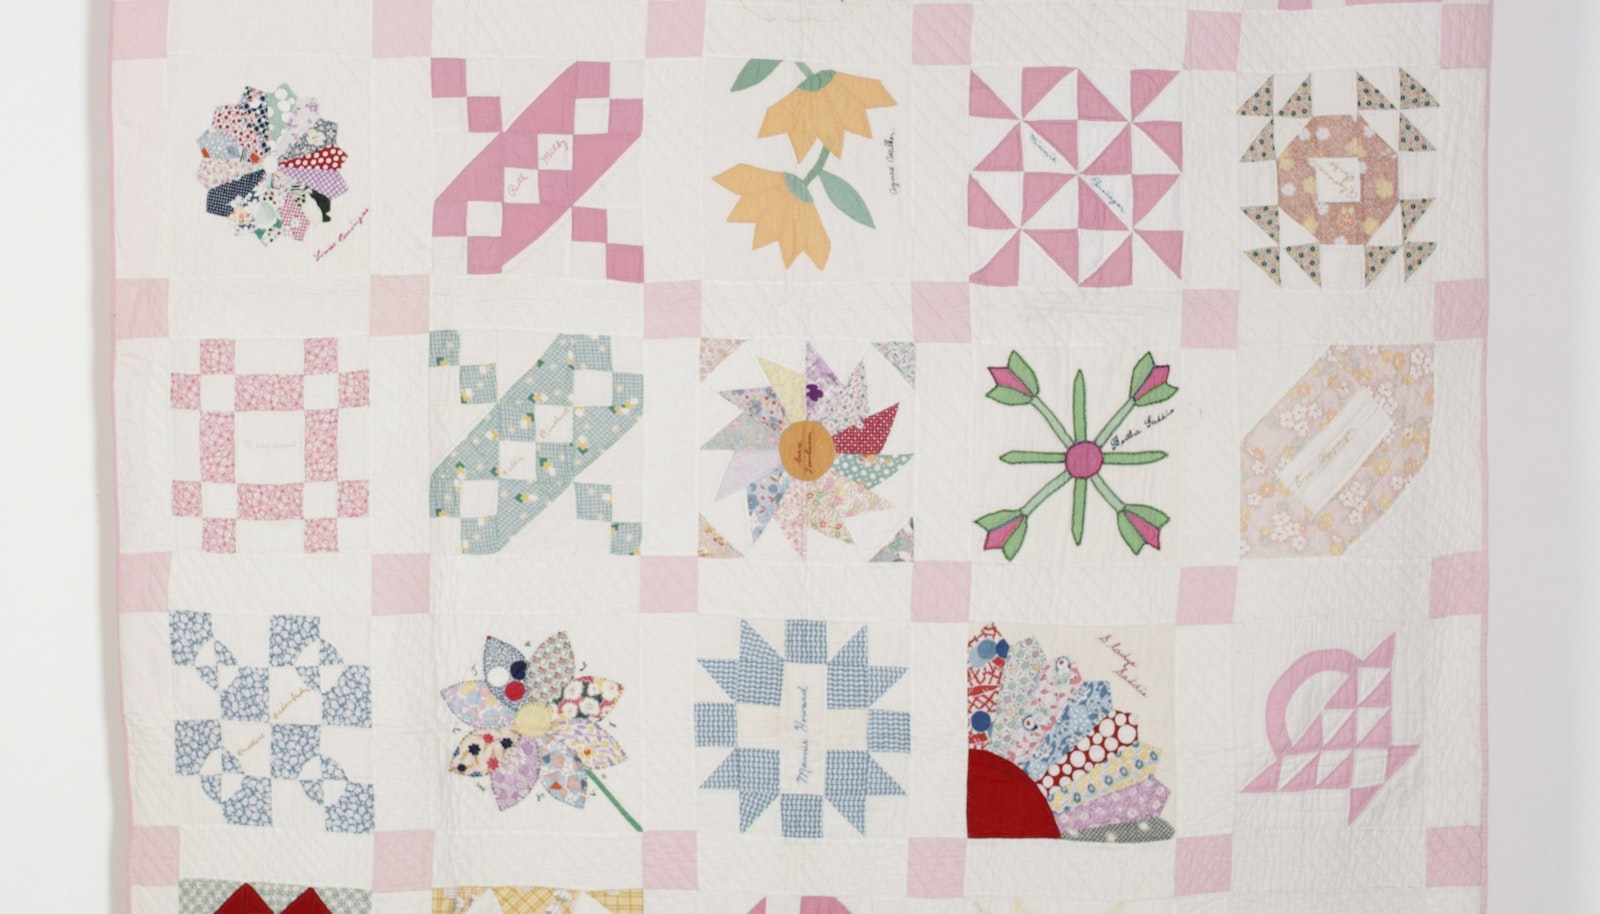
I always sign my work in some manner. Here I embroidered my initials. My article, “Investigating an Album Signature Quilt,” in the September/October 2005 issue of PieceWork, details my search for information on the thirty quilters who embroidered their signatures on a quilt now in my collection. Researching the history of this quilt is made easier by having the names of the women who worked on it.
Enjoy your personalized journal cover. And remember, whether you use embroidery thread, a fabric pen, or a tag (store-bought, computer-generated, or handmade), always sign your work!

Click here to download the templates:
Quilted Journal Cover Figure 1
Materials
- Fabric, 100% cotton, light blue print, white-on-white print, medium blue print, and very dark blue print, 1 piece each 18 x 22 inches (45.7 x 55.9 cm) for the front
- Fabric, 100% cotton, dark blue print (the same print as listed above), 1 piece 18 x 22 inches (45.7 x 55.9 cm) for the front, 1 piece 11 x 9? inches (27.9 x 25.1 cm) for the back, 1 piece 11½ x 17? inches (29.2 x 45.3 cm) for the lining, 2 pieces 11½ x 10 inches (29.2 x 25.4 cm) for the pockets
- Muslin fabric, 100% cotton, cream, 12 x 18 inches (30.5 x 45.7 cm)
- Quilters Dream Cotton Request Batting, 100% cotton batting, natural, 1 piece 12 x 18 inches (30.5 x 45.7 cm) for the front and 2 pieces 11½x 10 inches (29.2 x 25.4 cm) for the pockets
- DMC Embroidery Floss (Article 117), 100% cotton 6-strand thread, 8.7 yards (8 m)/skein, #3750 Very Dark Antique Blue, 1 skein
- John James Needles, embroidery size 9 and quilting size 10
- Ribbon, satin, ¼ inch (6 mm) wide, white, 10 inches (25.4 cm), 4 pieces
- Sewing thread, yellow and blue
- Quilting thread, white
- Masking tape, 1-inch (2.5-cm) wide, 1 roll
- Spiral-bound notebook, 10½ x 8 x ? inches (26.7 x 20.3 x 1.0 cm)
Finished Size 11 x 8½ inches (27.9 x 21.6 cm)
Instructions
Notes : Use a ¼-inch (6-mm) seam allowance and the blue sewing thread for all seams. Use the yellow sewing thread and the embroidery needle for all basting stitches. Use the white quilting thread, quilting needle, and ?-inch (3-mm) long running stitches for all quilting.
Front
Referring to the letters on the pattern, cut the following fabrics: A—20 pieces cut diagonally in half (to equal 40 triangles) of white 1¾ x 1¾ inches (4.4 x 4.4 cm) each; B—10 pieces of white, 9 pieces of light blue, 12 pieces of medium blue, and 9 pieces of very dark blue 1¼ x 1¼ inches (3.2 x 3.2 cm) each; C—1 piece of white and 4 pieces of dark blue 2½ x 2½ inches (6.4 x 6.4 cm) each; D—4 pieces of light blue and 8 pieces of dark blue 1½ x 1½ inches (3.8 x 3.8 cm) each; E—8 pieces of dark blue 1 x 2½ inches (2.5 x 6.4 cm) each; F—1 piece of white 2½ x 4½ inches (6.4 x 11.4 cm).
Using running stitches, referring to Figure 1 for the order of construction, and pressing the seams to one side after each seam is sewn, sew all the heart blocks with right sides facing as follows: Sew pieces 1 and 2 together, press; sew pieces 3 and 4 together, press; sew 1 and 2 to 3 and 4; sew each of the corner pieces starting with 5 and working around to 8.
Stem Stitch
Using a pencil, center and lightly draw the initial of your last name on the right side of the 2½- x 2½-inch (6.4- x 6.4-cm) piece (C) of white fabric. Center and draw the initials of your first, middle, and last name on the right side of the 2½- x 4½-inch (6.4- x 11.4-cm) piece (F) of white fabric. Using stem stitch and three strands of embroidery thread, embroider the initials; use French knots for the periods. Referring to the pattern for colors and shapes, sew the remaining front pieces together, pressing the seam allowances as you work.
French Knot
Back
With right sides facing and the 11-inch (27.9-cm) sides aligned, create the outside of the cover by sewing the backing fabric to the front along the left side of the front. Press seam open.
Outside
Layer the muslin, the 12- x 18-inch (30.5- x 45.7-cm) piece of batting, and the outside of the cover (right side up). Baste the three layers together. Quilt the layers using a cross-hatch design and running stitch. Do not stitch across the embroidered square or rectangle, instead, outline the shapes stitching ? inch (3 mm) inside the seam lines. Starting in the top left hand corner, lay a strip of tape down diagonally at a 45-degree angle toward the bottom right corner; stitch along the right edge of the tape; move the tape aligning the left edge with the previously-stitched line; stitch on the right side of the tape and repeat. Once you have completely covered the right side, turn the work 180 degrees and continue laying tape and stitching in the same manner. Trim the edges of the fabrics and batting to the size of the outside of the cover. Set aside.
Lining and Pockets
Fold and press one pocket piece in half lengthwise with wrong sides facing. Insert one of the 11½- x 10-inch (29.2- x 25.4-cm) pieces of batting in the fold. Baste the layers together. Quilt the layers using the same quilting and taping methods as above. Repeat with the other pocket piece. Baste one of the pocket pieces to the right side of one end of the lining fabric, aligning the raw edges of the 11½-inch (29.2-cm) sides of the lining and pocket. Baste the second pocket piece to the opposite end in the same manner. Pin two ribbons, stacked on top of each other, at the center of each end of the lining/pocket layers so that the raw ends of the ribbons are aligned with the raw edges of the fabrics; tape the ribbons down toward the center of the lining. Baste the ribbons in place, ¼ inch (6 mm) from the raw edges of the fabrics and ribbons. Remove the pins.
Assembling the Layers
With right sides facing, pin the lining/pocket layers to the cover. Sew the layers together leaving a 5-inch (12.7-cm) opening near the center of one long side. Remove the pins, trim the corners, and turn right sides out through the opening. Remove the tape and all basting threads. Slip-stitch the opening closed. Press. Insert the notebook by tucking the front and back covers into the pockets.
Susan Wildemuth lives on an Illinois grain farm with her husband, son, and dog, Maxine. With Cathy Litwinow and Marilyn Woodin, she founded the Iowa-Illinois Quilt Study Group, an educational auxiliary of the Kalona (Iowa) Quilt and Textile Museum. She took her first class in quilting in 1985 at the area community center; her interest in quilt history began when she attended a program to register her quilts sponsored by the Illinois Quilt Research Project.


