Subscriber Exclusive
Learning to Needle-Tat
These instructions are based on the information in Barbara Foster’s Learn Needle Tatting, Step by Step (Paxton, Illinois: Handy Hands, 1998), which provides complete step-by-step needle-tatting instructions accompanied by plentiful photographs.
These instructions are based on the information in Barbara Foster’s Learn Needle Tatting, Step by Step (Paxton, Illinois: Handy Hands, 1998), which provides complete step-by-step needle-tatting instructions accompanied by plentiful photographs. <a href="https://pieceworkmagazine.com/learning-to-needle-tat/">Continue reading.</a>
https://pieceworkmagazine.com/cdn-cgi/image/format=auto/https://www.datocms-assets.com/75076/1656656910-header-needle-tatting.jpeg?auto=format&w=900
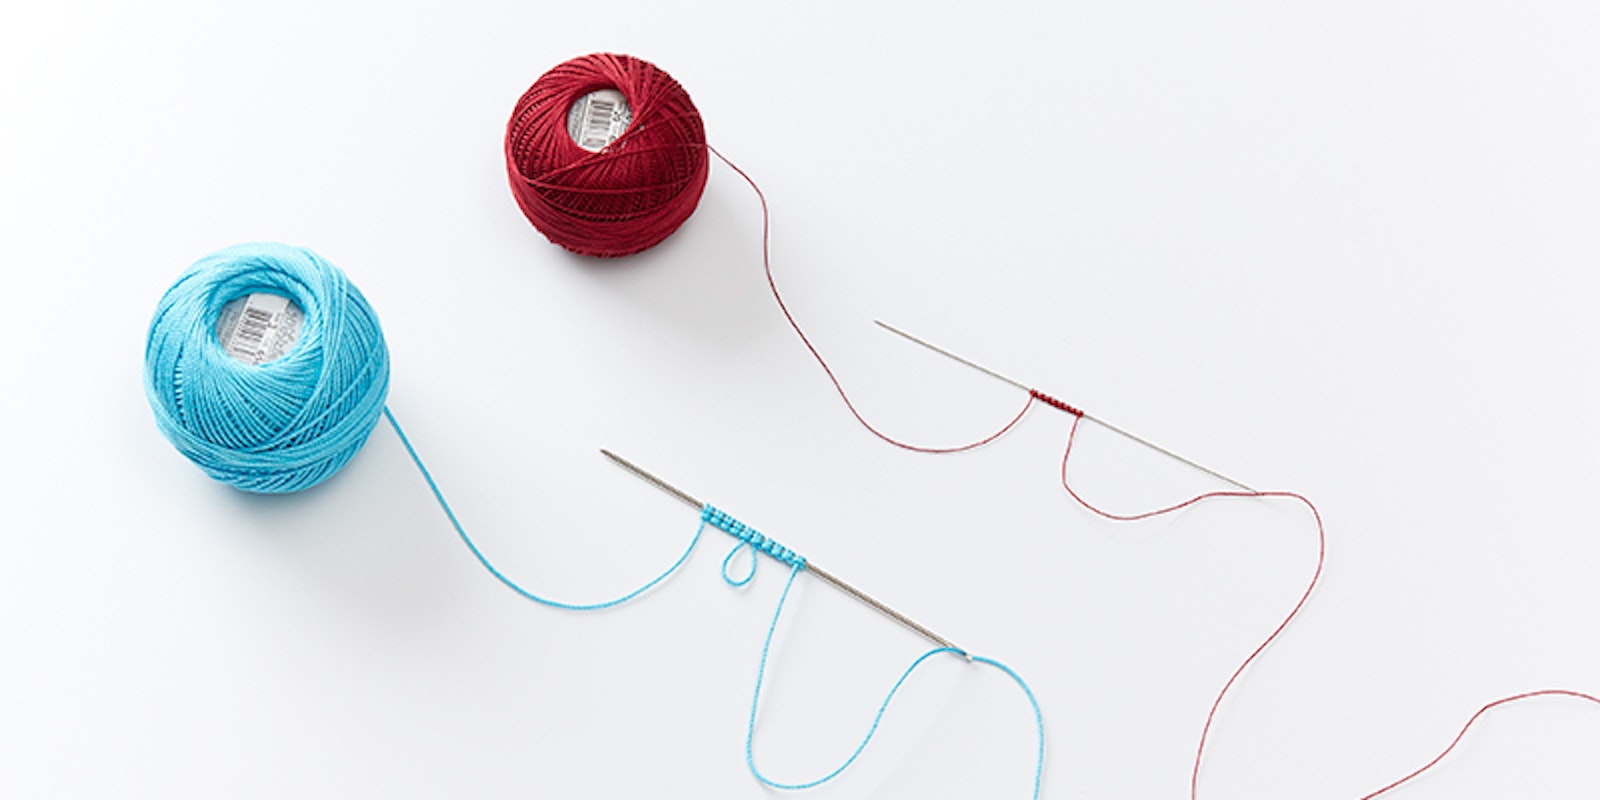
PieceWork assistant editor Elizabeth Prose’s first attempts at needle tatting with size 20 thread in red on a #7 fine needle, and size 3 in turquoise thread on a #3-0 needle. To read more about Elizabeth’s first attempts at needle tatting, check out her blog post, “Learning to Tat—Needle or Shuttle?” Photo by George Boe.
As you work step by step through the instructions for a simple edging, you will learn all the techniques needed to make the needle-tatted project that follows. Most beginning tatters find that the basic tatting stitch, the double stitch, is faster and easier to make with a needle than with a shuttle. Errors can be easily corrected before a ring or chain is completed. (Check the number of stitches and picots in each ring or chain while it is still on the needle. If you find an error, withdraw the needle to the first correct stitch before the error, then remake the sequence of
stitches correctly.)
Double Stitches
With the thread still attached to the ball, thread the needle and pull about 4 inches (10 cm) of the thread through the eye. Place the ball thread over your right index finger about 18 inches (46 cm) from the needle. Place the needle over the thread to hold it in place (Figure 1) and hold the ball thread with the last three fingers of your left hand. Now the thread leading from your right index finger to the ball is the ball thread.
SUBSCRIBER EXCLUSIVE
Unlock the Full Article with a PieceWork Subscription
Get instant access to this article and the entire PieceWork library of projects, inspiration, and expert instruction. With your subscription, you'll receive:
Unlock timeless techniques and heirloom-quality patterns
Learn from expert tutorials that deepen your historical craft knowledge
Enjoy unlimited access to exclusive content—updated regularly
Includes full access to PieceWork magazines + new issues.
PieceWork celebrates the rich history of needlework and makers from around the globe.
Plans start at just $4.99/month. Cancel anytime.
As you work step by step through the instructions for a simple edging, you will learn all the techniques needed to make the needle-tatted project that follows. Most beginning tatters find that the basic tatting stitch, the double stitch, is faster and easier to make with a needle than with a shuttle. Errors can be easily corrected before a ring or chain is completed. (Check the number of stitches and picots in each ring or chain while it is still on the needle. If you find an error, withdraw the needle to the first correct stitch before the error, then remake the sequence of
stitches correctly.)
Double Stitches
With the thread still attached to the ball, thread the needle and pull about 4 inches (10 cm) of the thread through the eye. Place the ball thread over your right index finger about 18 inches (46 cm) from the needle. Place the needle over the thread to hold it in place (Figure 1) and hold the ball thread with the last three fingers of your left hand. Now the thread leading from your right index finger to the ball is the ball thread.
[PAYWALL]
To make the first half of the double stitch, wrap the ball thread around your left index finger from front to back, bring the tip of the needle across the front of the loop on your index finger, and insert it into the loop from the left (Figure 2). Slide the loop onto the needle and withdraw your left index finger. Tighten the loop snugly around the needle and hold it in place with your right index finger (Figure 3). To make the second half of the double stitch, wrap the ball thread around your left index finger from back to front, bend your left index finger slightly, bring the tip of the needle across the back of the loop, and insert it into the back of the loop with the needle pointing toward the tip of your left index finger (Figure 4). As you withdraw your index finger, tighten the loop around the needle next to the first half of the stitch (Figure 5). You have completed 1 double stitch.

Picots
Make 3 more double stitches on the needle for a total of 4. Make the first part of the next double stitch, but tighten it around the needle 3⁄8 inch (9 mm) from the last double stitch. Complete the double stitch, tightening the second loop against the first. Slide the last double stitch next to the other stitches to form the picot (Figure 6). The picot doesn’t count as a double stitch—it is simply the looped thread running between adjacent double stitches—so the double stitch you’ve just made is the first of the next group of four. Make 3 more double stitches.

Rings
You should now have 4 double stitches, picot, 4 double stitches on the needle. Finish the stitches needed for the ring by adding (picot, 4 double stitches) three times. To form the stitches into a ring, hold the group of double stitches you made last between your left thumb and forefinger and slide all the stitches over the eye of the needle. Continue to pull the thread through the stitches until it forms a loop 1 inch (2.5 cm) long at the beginning of the stitches. Bring the needle up through the loop (Figure 7) and pull the thread tight to close the ring (Figure 8). Reverse the work by turning the ring over as if you were turning the page of a book so that the wrong side is now facing you. Bring the needle up through the loop formed by the needle thread crossing the ball thread and make a knot (Figure 9). Pull the knot tight without letting go of the ring.

Chains
With the reverse side still facing, hold the ring on your right index finger with the needle on the knot that closes the ring. With the ball thread, make (3 double stitches, picot) three times, 3 double stitches. Slide the stitches over the eye of the needle and pull the thread all the way through the stitches to form a chain (Figure 10). Reverse the work and bring the needle up through the loop formed by the crossed threads to make a knot. Now the right side of the previous ring is facing you again. Place the needle on the knot at the end of the chain to begin the next ring.

Joining to a Picot
Begin the next ring by making 4 double stitches with the ball thread. Now, instead of making a picot, you will join the new ring to the last picot of the previous ring as follows: Hold the ball thread behind the last picot of the previous ring and pull it up into a loop through the picot with a crochet hook or the tip of the tatting needle (Figure 11). Place the loop onto the tatting needle and tighten it against the other double stitches. Like a picot, the join does not figure in the stitch count. Finish the ring with (4 double stitches, picot) three times, 4 double stitches. Close the ring by drawing the needle and thread through the stitches to form a loop at the beginning of the ring. Bring the needle up through the loop and draw it tight. Reverse the work as before. Continue alternating chains and rings, until the edging is the length you want.
Joining Threads
If you run out of ball or needle thread, finish the ring or chain you are working on and cut both threads, leaving 2-inch (5.1-cm) tails. Tie the ends together in a square knot. Rethread the needle with the ball thread and insert the needle from below through the knot you just made. Pull through as much thread as you need for the needle thread and begin tatting where you left off. Later, thread the cut ends along the inside of 6 knots with a tapestry needle, then trim them close to the work.
Jane Fournier was the craft editor for PieceWork from 1994 until 1998.