Any child of the seventies has memories of rickrack: row upon row stitched down the middle adorning blouse neck edges and the cuffs of bell-bottom jeans. What I didn’t realize is that wavy trim came into vogue much earlier than that.
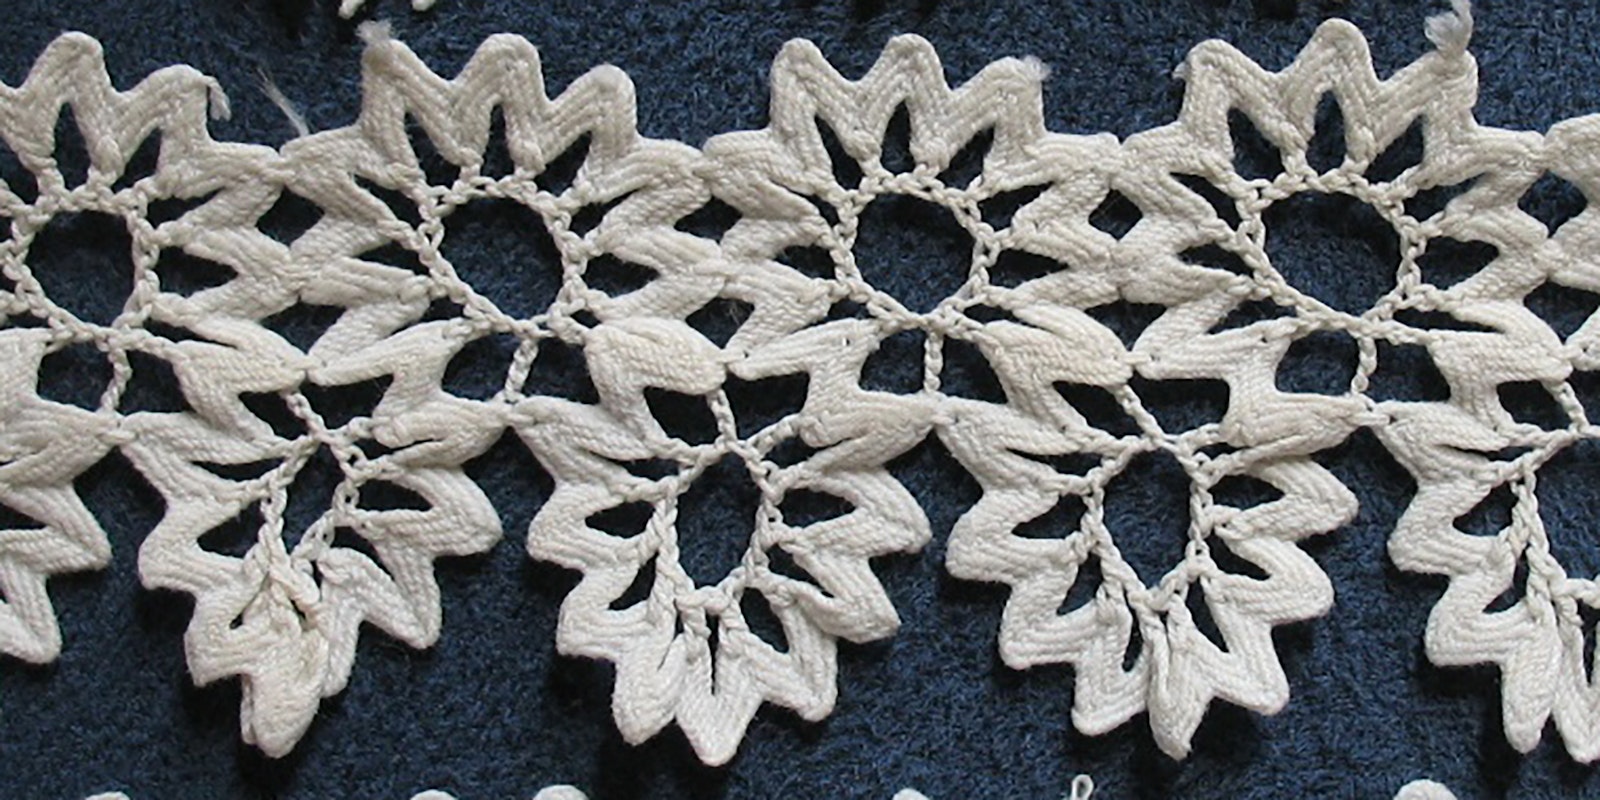
 Front side of the re-created wavy braid trim. Photo by Matt Graves
Rickrack—or wavy braid—made its debut in the 1860s. Lacemakers used it straight for curtain tiebacks and simple trims but were more daring in their approach to the braid. Many of the samples from the time contain rows and rows of the trim folded into loops that are connected with crochet. When I first started looking at the photos sent in by Karin J. Bohleke to accompany her article in the Summer 2022 issue of PieceWork, figuring out how they moved from ring to ring was a mystery—that is, until I checked out the back side. A tiny crocheted chain is the magic that connects each ring and happens to be neatly concealed on the reverse. To follow are instructions for one of the edging patterns re-created from the historical pieces featured in the Summer 2022 issue. I hope you pull out a crochet hook and give rickrack a second chance.
 See the tiny chain that connects the rings yet is hidden on the front side? That’s the secret to traveling between motifs. Photo by Matt Graves
Instructions
Special Stitches
Join with slip stitch (sl st join): With slip knot on hook, insert hook in indicated rickrack point, yo, draw lp through point and through lp on hook.
Notes
- Use head lip of hook to pierce center of indicated rickrack point.
- Work in full rickrack points only; do not work in points that have been cut in half unless otherwise stated.
- Work with wrong side facing throughout.
- Hold indicated points together and work through both points at the same time unless otherwise stated.
Edging
Sl st join (see Special Stitches) in 2nd point on outer edge of braid, ch 5, sl st in 3rd inner point, *ch 3 (counts as first dc), dc in next 9 points separately, sl st into 3rd ch of beg ch-3 to form ring, being careful not to twist braid, ch 5, sc in next 2 adjacent unworked points on either side of ring (see Notes), ch 6, sl st in next outer point; rep from * to desired length. Fasten off.
Katrina King is the editorial assistant for Long Thread Media and a continuing student of craft and life.