
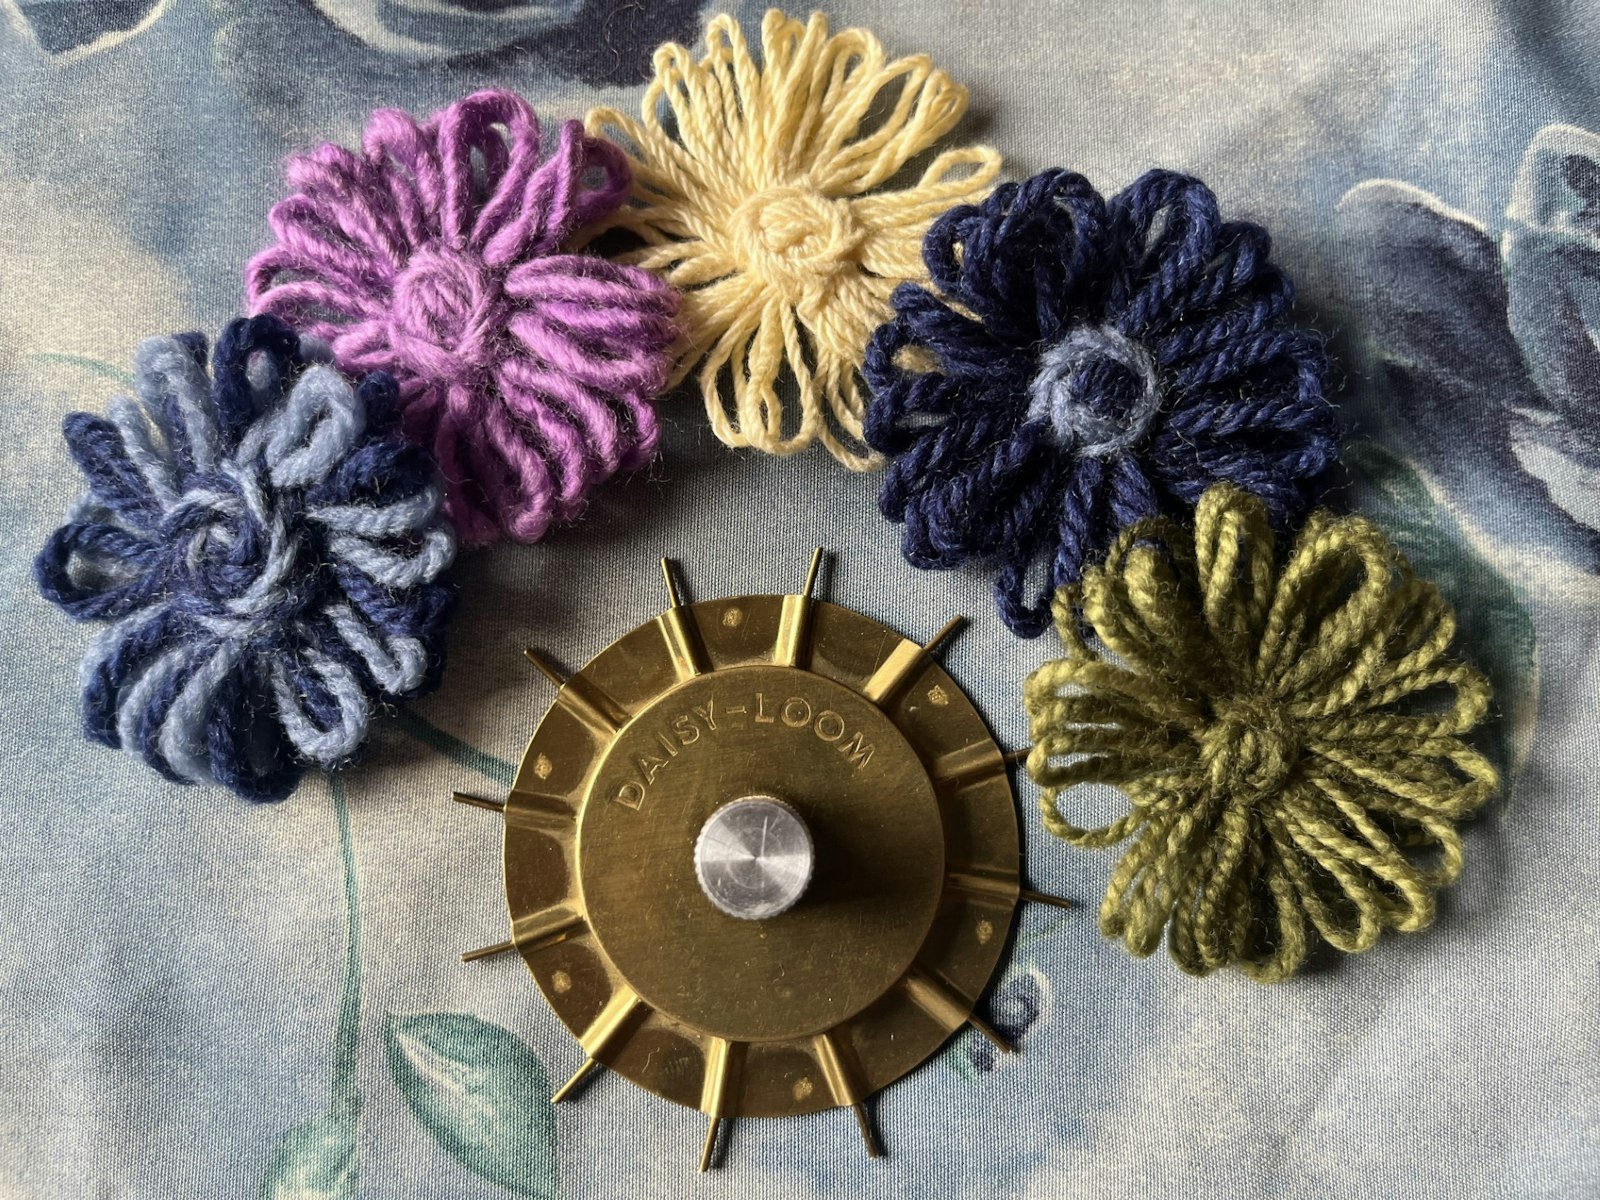
There’s something satisfying about turning a bit of scrap fabric or leftover yarn into a whole garden of cheerful little flowers. These are the kinds of projects that feel like play: quick, forgiving, and endlessly customizable with color and texture. So, grab your scrap basket and your yarn stash, and grow a garden.
Fabric Flower
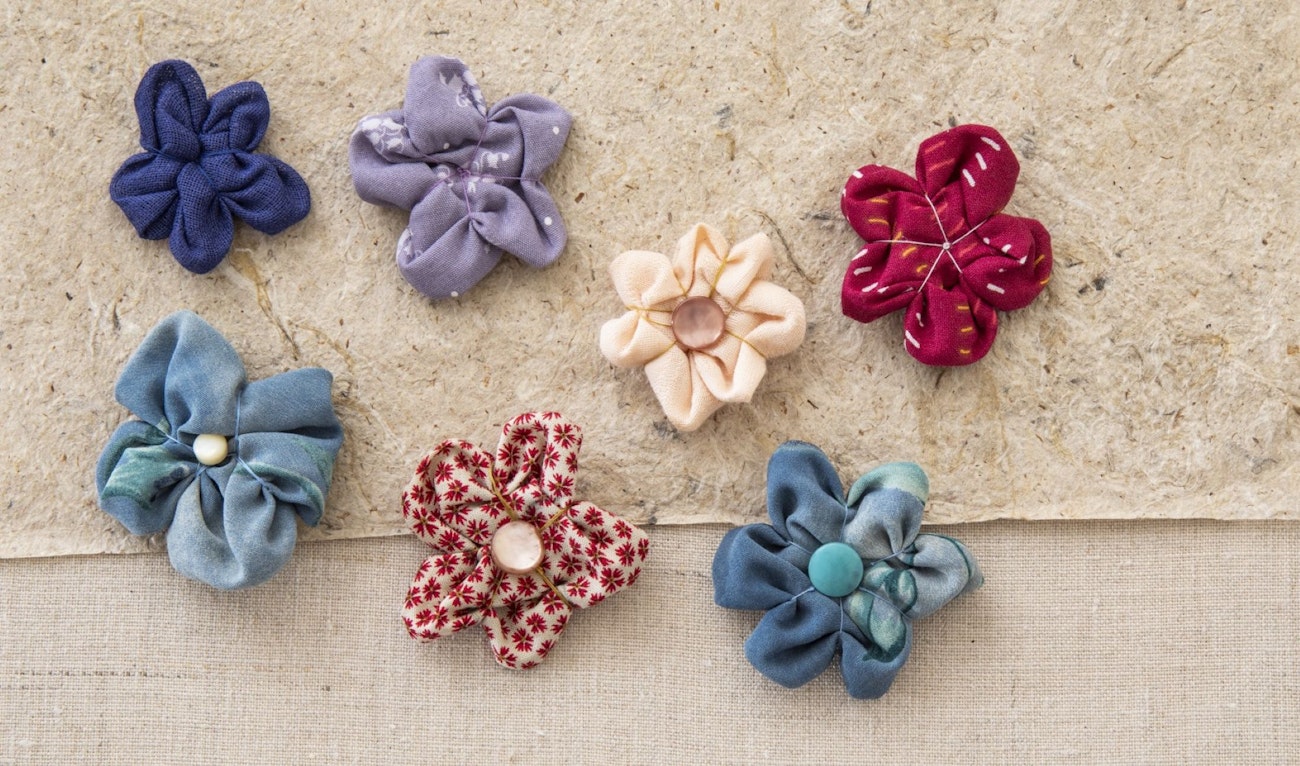
These little cloth flowers are great for embellishing clothes, pillows, or accessories. When stitched together, they can make a colorful, playful garland. If you’ve ever made fabric yo-yos, you’re halfway there!
Materials
- Fabric scraps—any fabric will work
- Matching or contrasting thread, such as strong quilting thread
- Scissors
- Handsewing needle
- Shank button (optional)
Instructions
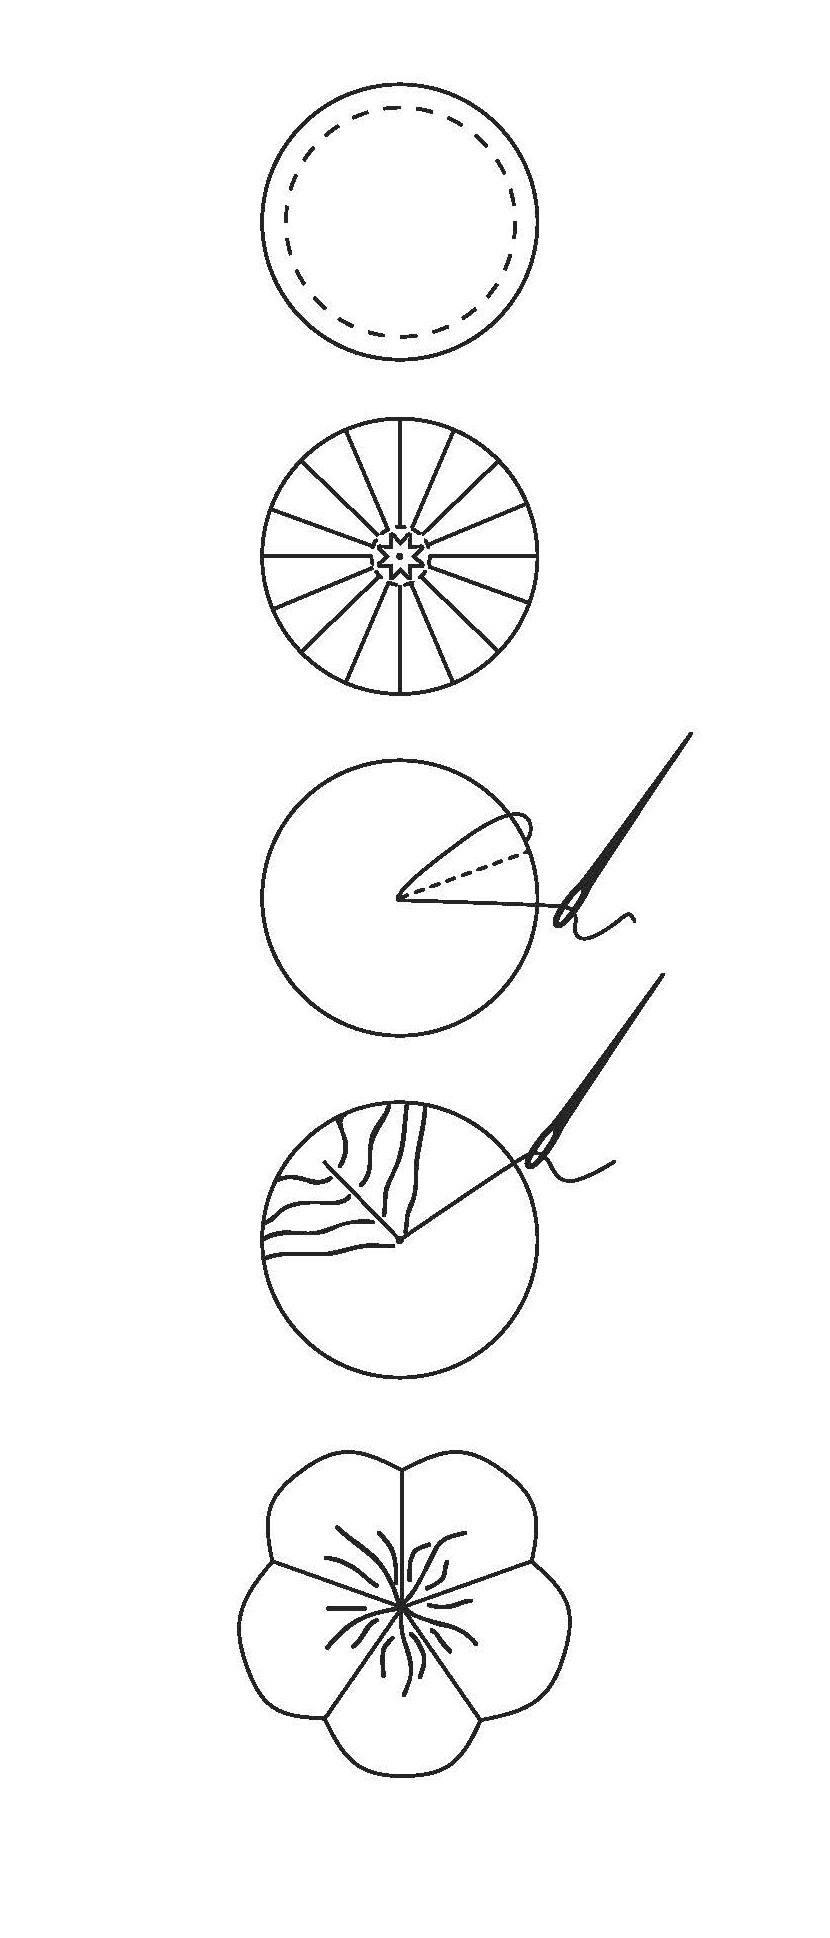
Trace a circle pattern onto fabric. You can use a jar lid, coffee cup, or small dish, depending on the size of circle you’d like your flower to be. I made mine between 3 and 5 inches (7.6 and 12.7 cm) in diameter. Cut out the circle.
Double enough thread in a matching or contrasting color to stitch around the outside of the circle, and knot both ends of the thread together. Use strong thread, because you’ll need to pull quite a bit at the end; if your thread snaps, you’ll have to start over.
Start with the wrong side of the fabric facing you. With running stitches, work your way around the outer edge of the circle, about 1/8 inch (3 mm) from the edge.
Pull the thread to gather the center nice and tight, until the raw edges are almost touching. Fasten the thread on the back side of the flower. Do not cut the thread, because you’ll need it for creating flower petals.
Turn the flower over. Bring the needle and thread up from the back, in the center of the circle. Wrap the thread from the center, over the edge, and bring the needle back up through the center.
With thumb and finger, lightly hold the edge of the material and pull the thread to gather the material down toward the center. Go around the edge one more time in the same spot. This second stitch will hold the petal firmly in place while you make the next petal.
In the same manner, stitch around the edge four more times evenly spaced around the circle for a 5-petal flower. I made some with 6 petals, too. Fasten off the thread on the back side. If you’d like an extra bit of flourish, attach any type of button or bead to make a center for the flower. A simple French knot at the center works well, too.
Daisy Loom Yarn Flower
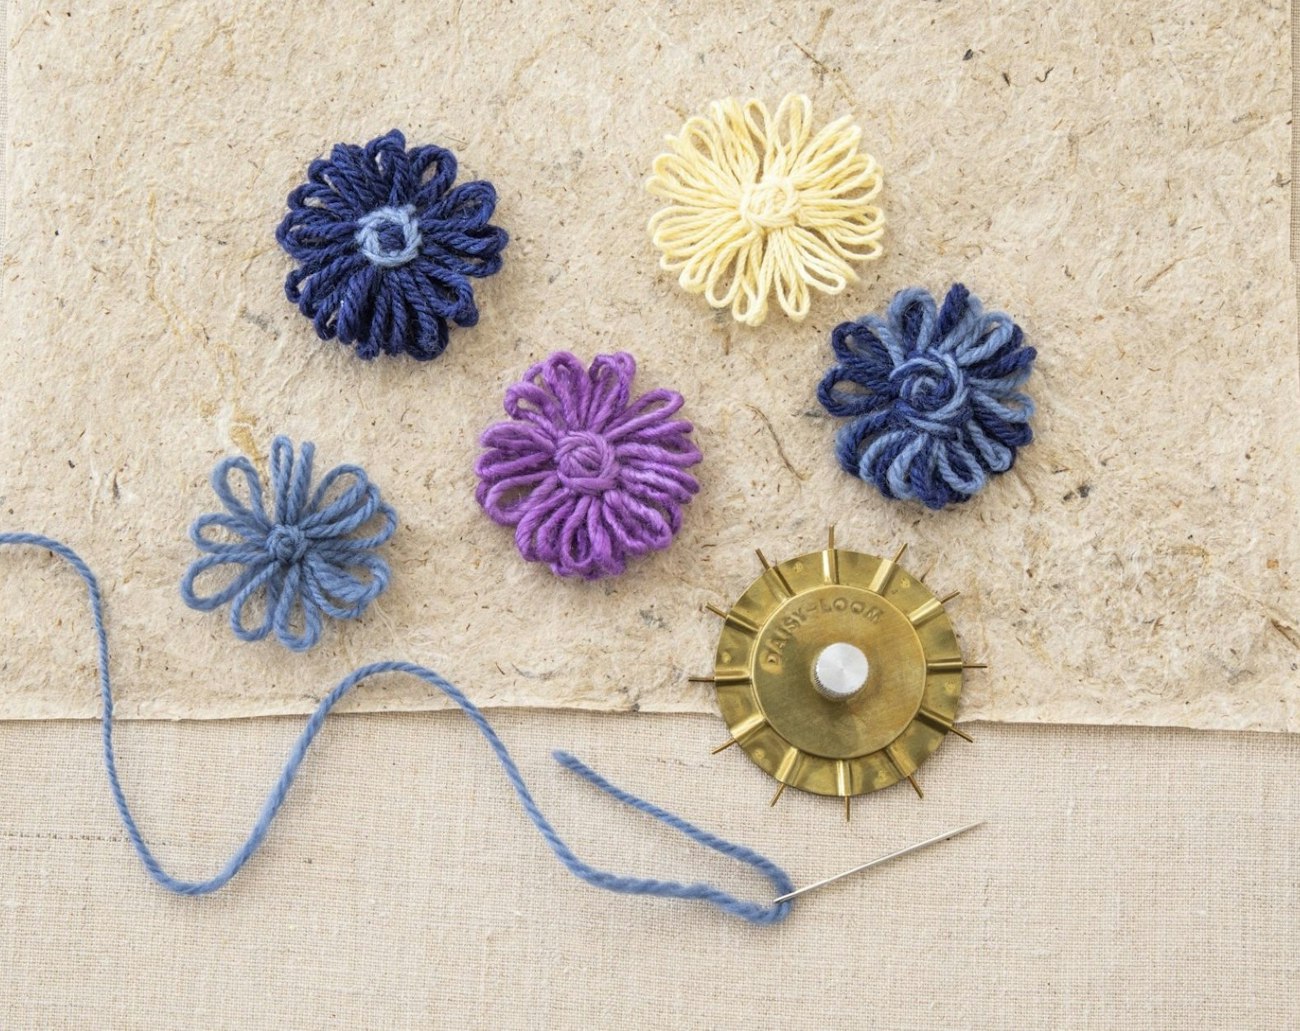
I recently helped my mother winnow down her out-of-control collection of craft supplies, and we unearthed a fabulous brass Susan Bates Daisy Loom. These flower looms were popular in the 1950s, and I suspect that this one hadn’t been used since. I cleaned it up and started experimenting, winding different yarns around the spokes, sometimes in multiple layers.
Using a tapestry needle and yarn for the center, I gathered the wrapped strands at the center to secure them and form the flower’s middle. My favorite part is twisting the knob on the back side of the loom so the spokes recede, allowing the flower to pop off. You can crochet these flowers together to make a blanket or a scarf, or you can use them in similar ways as the fabric flowers to embellish other textiles.
Check out this video to learn more.
Have fun making the perfect summertime bouquet!
Karen